When you make cosplay, you’re always taking on unique challenges. Sometimes, you’re tasked with trying to make things that don’t actually exist in our world. Other times, you’re trying to make clothes, armor, and props out of materials that are way different than they would be. What we’re really saying here is that in order to pull off your cosplays, you often have to get creative. Sometimes, your own mind is the best place to find solutions, but other times, tips and advice you collect from other cosplay makers can absolutely improve your process (and maybe blow your mind).
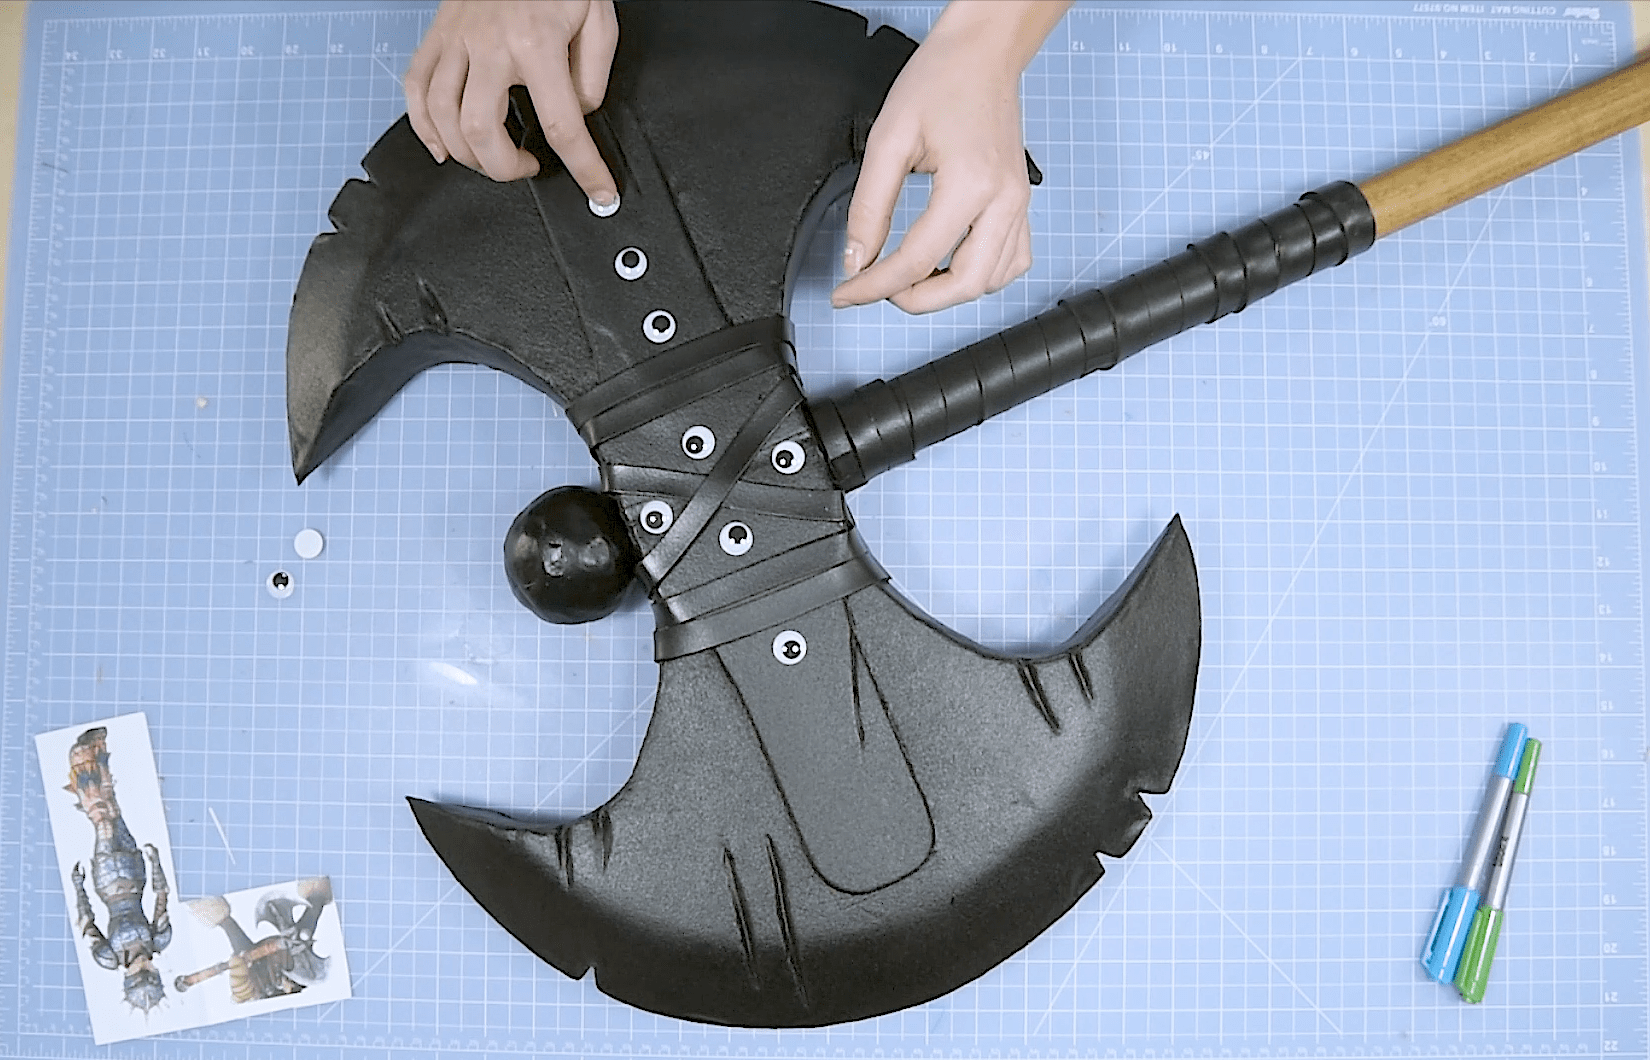
Case in point: when you’re making a foam weapon that incorporates screws in the design, how do you make include those little round screw heads when you’re not actually twisting screws into your foam? When we made Astrid’s axe from How to Train Your Dragon 3, we used a little trick we learned a while back: googly eyes.
In this post, we’ll show you how to add detailing to foam cosplay weapons with plastic googly eyes like we did in our Astrid video tutorial series and explain how to ensure any embellishments you want to add to your prop actually stick.
How to Make Screw Details Using Googly Eyes from the Craft Store
In order to make the easiest screw details for your foam weapon (or armor, if you’re cosplaying a cyborg or someone in a space suit, to give a few examples), you only need a few things: plastic googly eyes (which you can find online and at most craft stores), an adhesive, and the sealant and paint you’ll be using on your weapon. While the process for making screw details from plastic googly eyes is fairly simple, there are a few things you should know before you start.
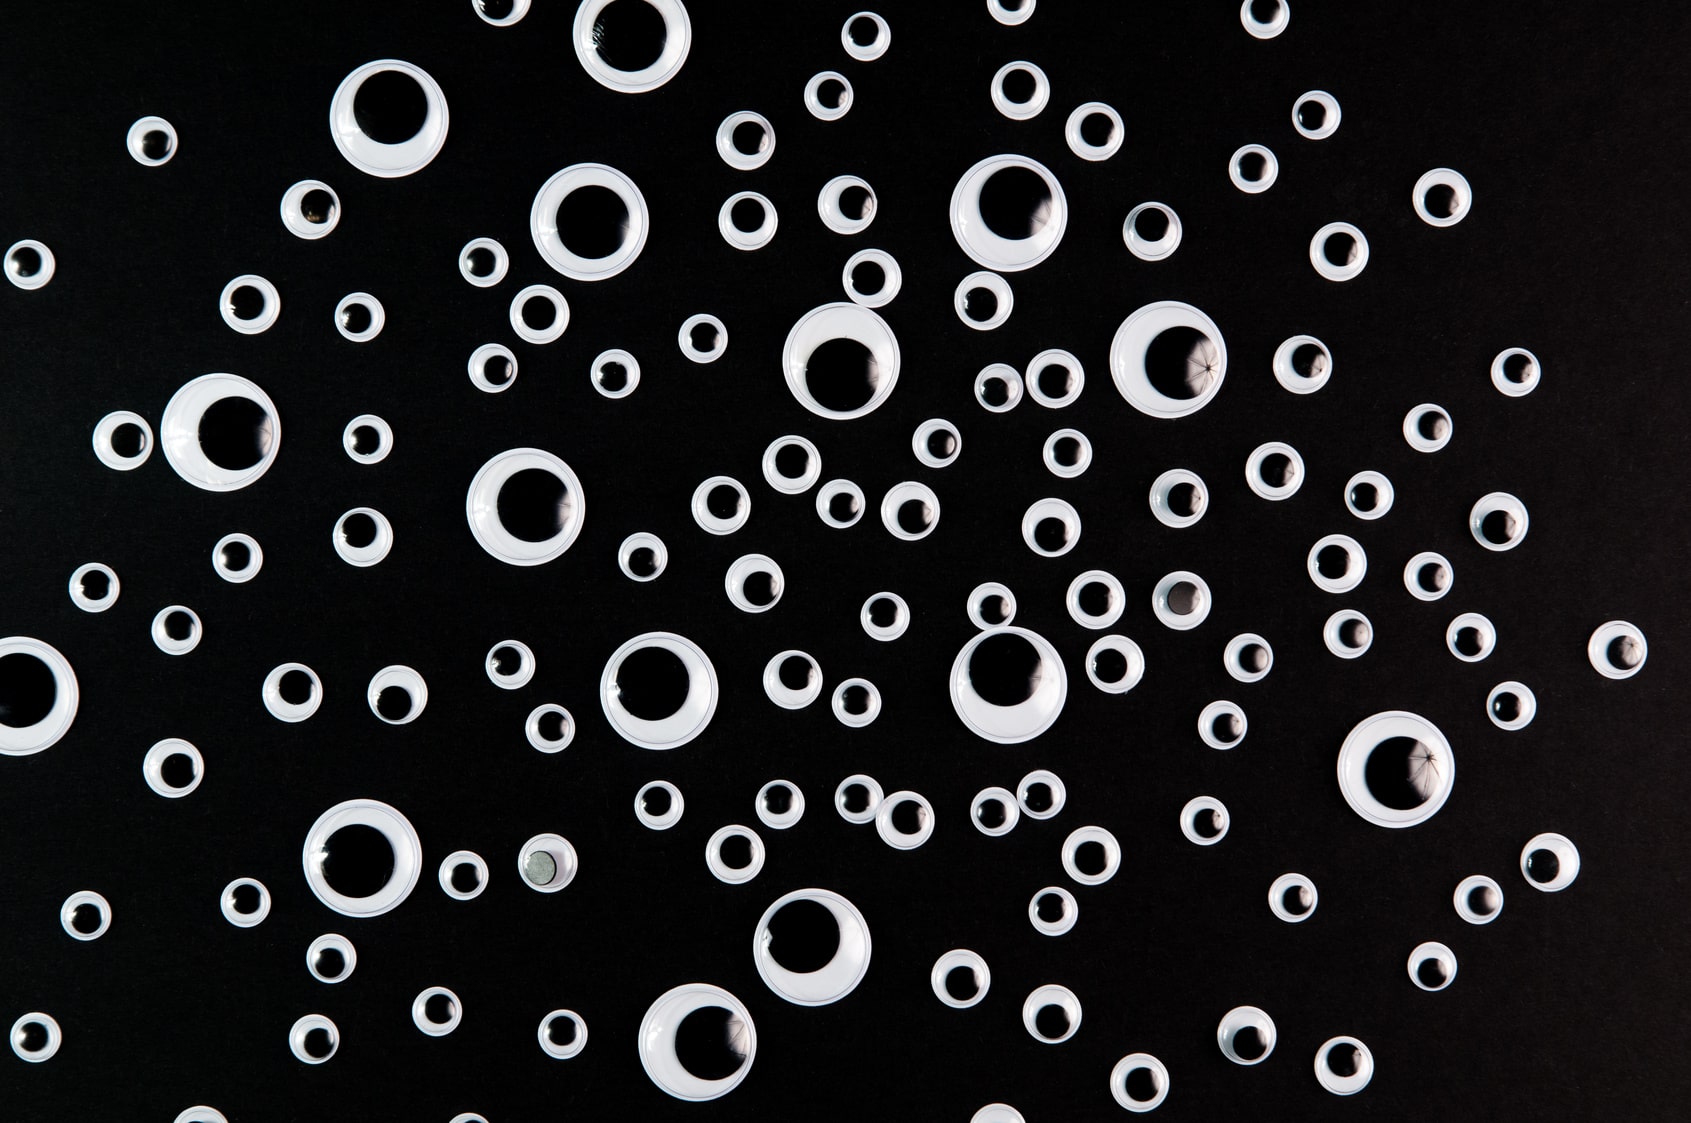
First, pay attention to the size of the googly eyes you buy to make sure that they’re the right size for your weapon. Especially if you’re ordering online, you might not be able to tell how big or small the eyes are from the pictures on a website, so just double check the listed size and measure it out. Additionally, you usually have to buy googly eyes in a larger count pack— and this will probably make them cost less as well — so you might consider buying a package with an assortment of sizes that you can use up down the road on projects with different needs. When in doubt, a middle-of-the-road size would probably cover the majority of prop projects.
Additionally, what makes the googly eyes, well… googly, is that there is a separate plastic “pupil” inside of the outer shell that moves around when shake or move the eye. You can use the eyes as they are for this process, like we did for Astrid’s axe. However, even after the weapon is finished, if you listen closely, you can hear the pupils shaking around when you move or swing the weapon. The noise is minimal, so we weren’t concerned, but if you want to eliminate the noise and have the time and patience, you can remove the cardboard backing from the eye and take out the pupil piece and just use the outer shell for your detail. That’s purely a matter of preference, and the technique will work either way.
Finally, when it comes to adhesives, you have some choices for this project. Many googly eyes you can buy are self-adhesive; all you have to do is peel off the backing and stick. For general purposes, using the self-adhesive should work just fine because you’ll also be top coating these details. However, if you’re concerned about the screws falling off, or if you did take the cardboard backing off, you can use a separate adhesive to stick the eyes down more securely, like double-sided adhesive sheets or craft glue.
So, with those tips in mind, here’s how to actually use googly eyes to make screw head details:
- Assemble your foam pieces to the point where you’d normally start painting. The googly eyes should be added before you seal or paint your foam.
- If you’re going to remove the pupil from the googly eyes (optional), do so before you start applying adhesive.
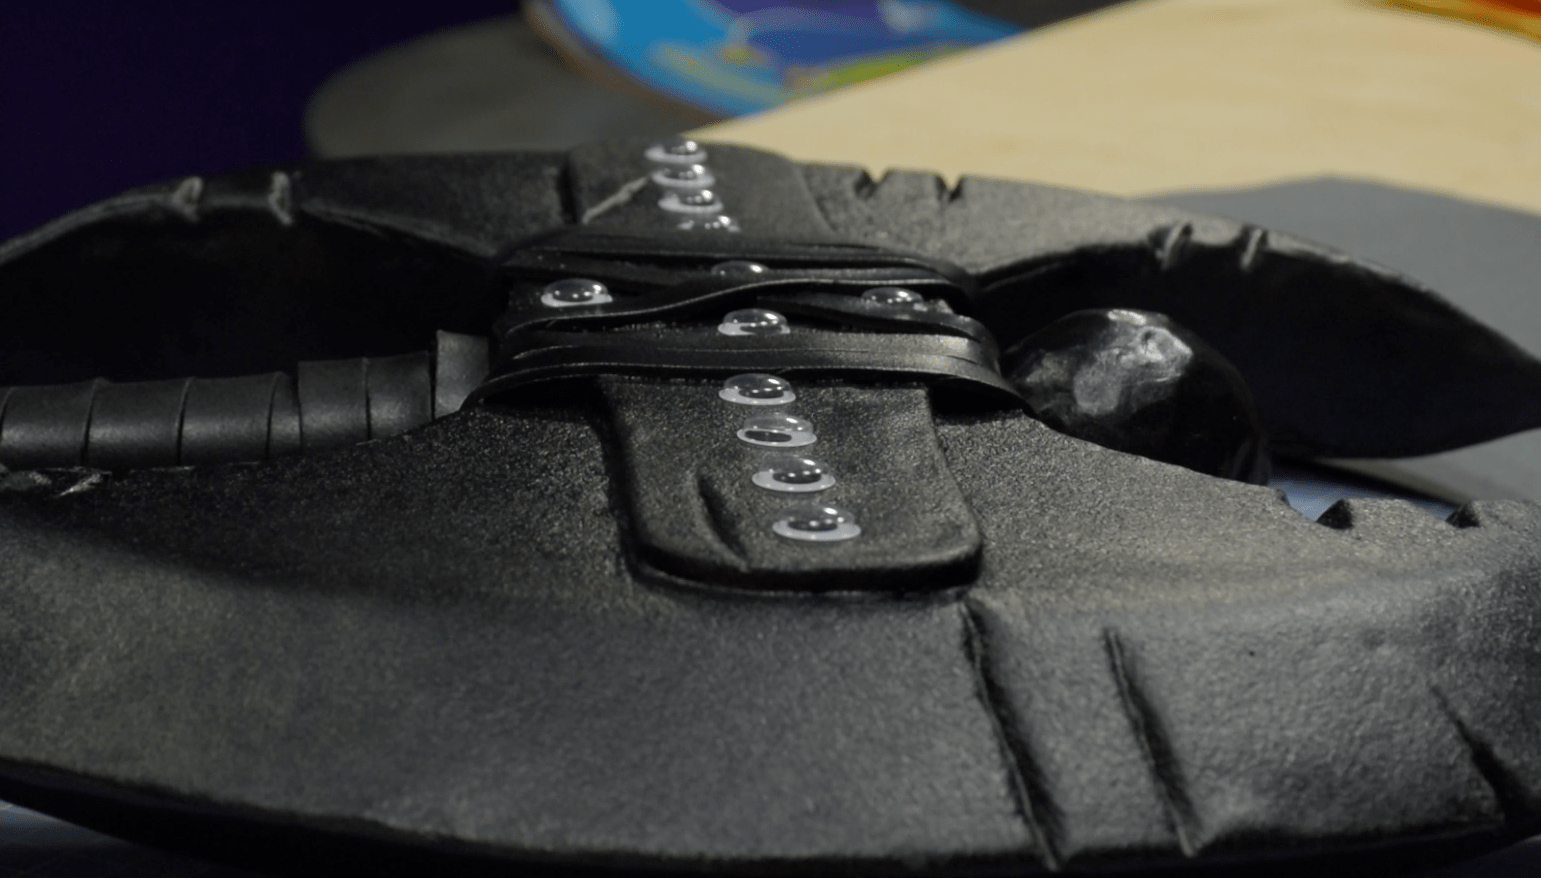
- Either peel off the backing on your self-adhesive eyes or apply your adhesive to each eye, then stick them directly onto your foam weapon where you want the screw heads to be.
- Press down and make sure they’re securely bonded to the foam.
- Once all of your googly eyes are attached (as well as anything else that needs to be stuck on before you paint), seal your foam as well as the eyes with your preferred coating before painting. Make sure to completely cover the eyes on the top and the sides.
- Paint your weapon as you please.
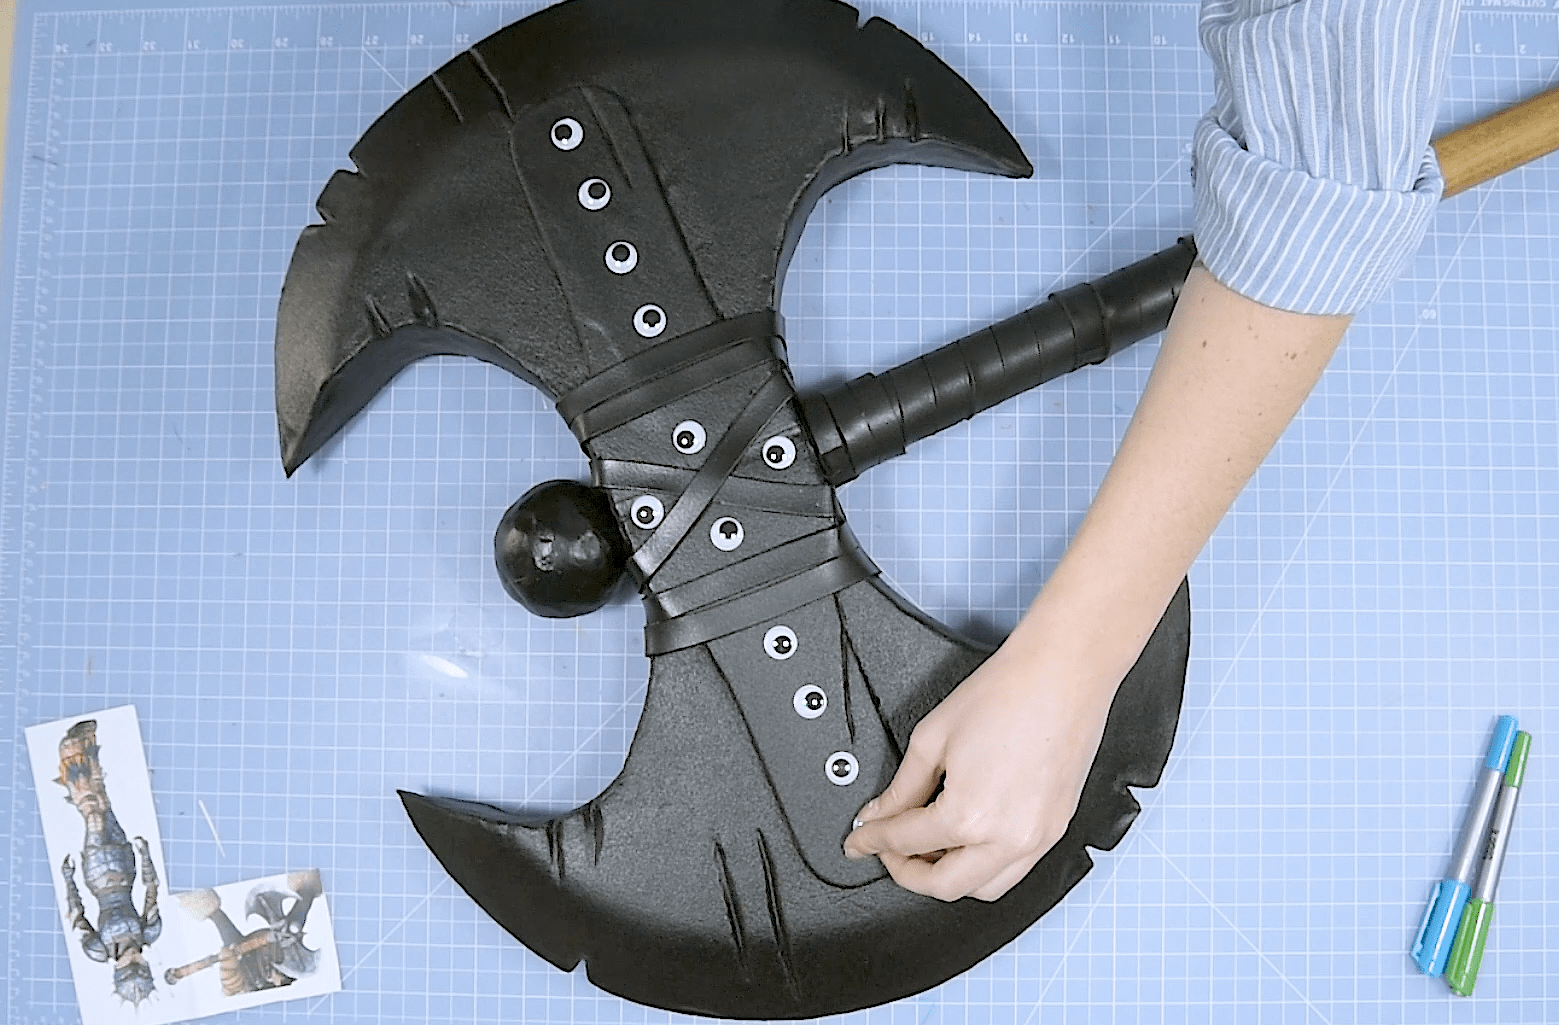
That’s all it takes to make these 3D screw heads. In our experience, it’s much easier to make these details this way, before painting, rather than trying to attach something over top of the paint later (They may pull the paint right off.) When you’re done paint them whatever color they are from your cosplay.
Attaching Details and Embellishments Securely
Most cosplay weapons will require some level of detailing — some more than others, for sure, but these details are what make your weapon unique to the character you’re cosplaying. We love how these googly eye screws add such a realistic detail to our axe that makes it look much more authentic. However, it’s not the only detailing we did to make sure that our axe really looked like Astrid’s axe, and your weapon is likely to need more than just screws, too.
Attaching emblems, embellishments, and other pieces of flair to your foam bring it into the world of your character. Our axe, for example, has colored straps wrapped around the blade, pieces of fur, and a gripped hilt piece that we attached. Your weapon might have any kind of emblems, gems, chains, buttons, or other accessories, but as long as you use a good adhesive to attach them, they can make or break your cosplay. For example, to add those important decorative straps to our axe, we used double-sided adhesive sheets like CosBond Attach & Build that stick tightly to the foam, wood, and Worbla. All we had to do was stick one side of the adhesive sheet to the foam, cut our strips out, then peel off the release paper side and carefully stick them down. We also used hot glue here and there on pieces that were hidden.
Here’s one more tip for the road: you can use more 3D elements to make other raised details on your weapon or armor, like puffy foam stickers or scrapbooking embellishments, the same way as the googly eyes for cool detail effects. When you attach them to the surface and then paint it all over, it doesn’t matter what the sticker actually looks like. You end up with just its shape, which can potentially mimic a whole range of design elements. When you think in 3D, you might be surprised how many cool textures and details you can incorporate this seamlessly