Perhaps now, given the global pandemic, Animal Crossing is more popular than ever. And, everyone seems to have their preferred Villager. We asked you for your favorite Villager, and you voted for Stitches! So, we are going to make his very cute ears. These ears will be perfect for when we can finally go to cons again, or — in the meantime — just playing Animal Crossing!
Materials Used:
|
How to Make Stitches’ Ears with CosBond Attach & Build
- To start, draw a template shape for his ears, and cut them out.
- Trace the templates onto some thermoplastic scraps (we used Worbla), and cut those out.
- Now, trace these onto some CosBond Attach & Build, and cut them out. Peel and stick these to your thermoplastic.
- Peel the backs of them, and use a heat gun to heat up the thermoplastic with the CosBond. (This step is not necessary, but it will help the CosBond stick better to the fur.) Then, shape your ears slightly.
- Now, stick some Attach & Build to the front of our ear. Peel, and then stick on some fur to the front.
- Cut your ears out, and begin trimming some length off.
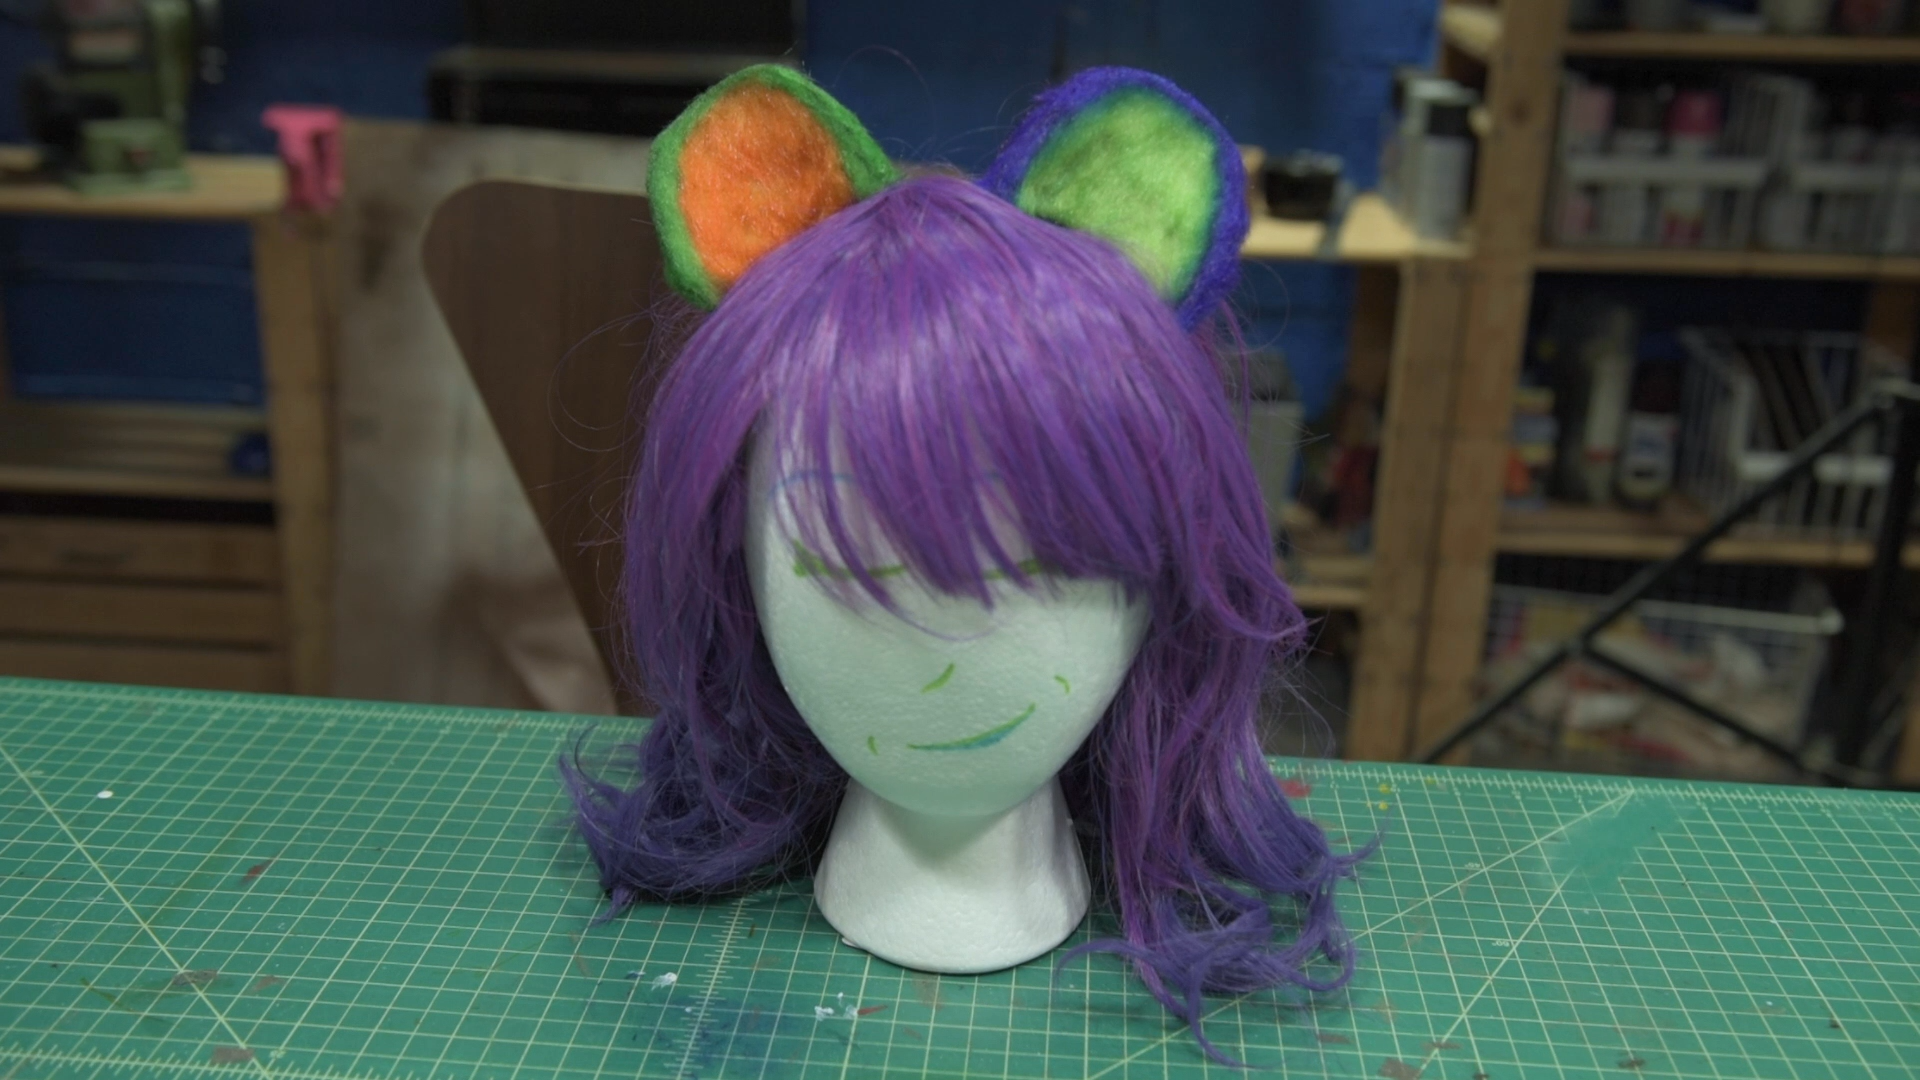
- Once they’re at a manageable length, we can start coloring our fur with markers. Make sure to go upwards, downwards, and sideways to color all off the fur.
- To attach our ears, cut out four pieces of wire about six inches long. Stick these between your fur and Worbla, and press them down. When attaching them to a wig, simply pop them through your wig’s lace, fold down the sharp, metal edges, and bend the wire tightly to your wig. Now, these are secure, and they’re ready to wear.
And just like that, you have some cute ears like your favorite Villager: Stitches! Stay tuned for more great CosBond tutorials.