There are plenty of reasons why EVA foam makes a great cosplay material: it’s light, easy to form and work with, and usually, not very difficult or expensive to get. Today, we’re talking about another key feature of cosplaying with EVA foam: it can be manipulated in tons of different ways to look like different materials. With a little work and the right technique, foam can mimic the look of metal, leather, and even skin. In our case, during our recent Astrid build, all it took was a little heat and a steady hand with a soldering iron to create textured dragon scales on our armor. The great news is that you can use the same technique to carve and engrave just about any texture or design into your foam armor, too.
In this post, we’ll explain how to carve EVA foam with a soldering iron for cosplay and discuss all the different ways you can incorporate this technique in your armor builds. To see the carving process in action, check out this video from our Astrid’s armor tutorial series.
How to Solder Designs and Textures into EVA Foam
To get started carving with a soldering iron, you’ll need a few safety reminders first. For one thing, you should always be careful when you’re working with heat. Working slowly and cautiously will help protect not only your own hands but also your foam and your home, which can both burn if you’re not careful. Secondly, you should ALWAYS use a ventilator when melting foam or work in a well-ventilated area. Those fumes can be really harmful for you.
With those safety tips in mind, here’s how you can solder designs into your armor.
- Cut out your foam pieces. It will probably be easiest if you have all of the pieces you’d like to solder already cut out and ready, rather than switching back and forth between cutting and soldering.
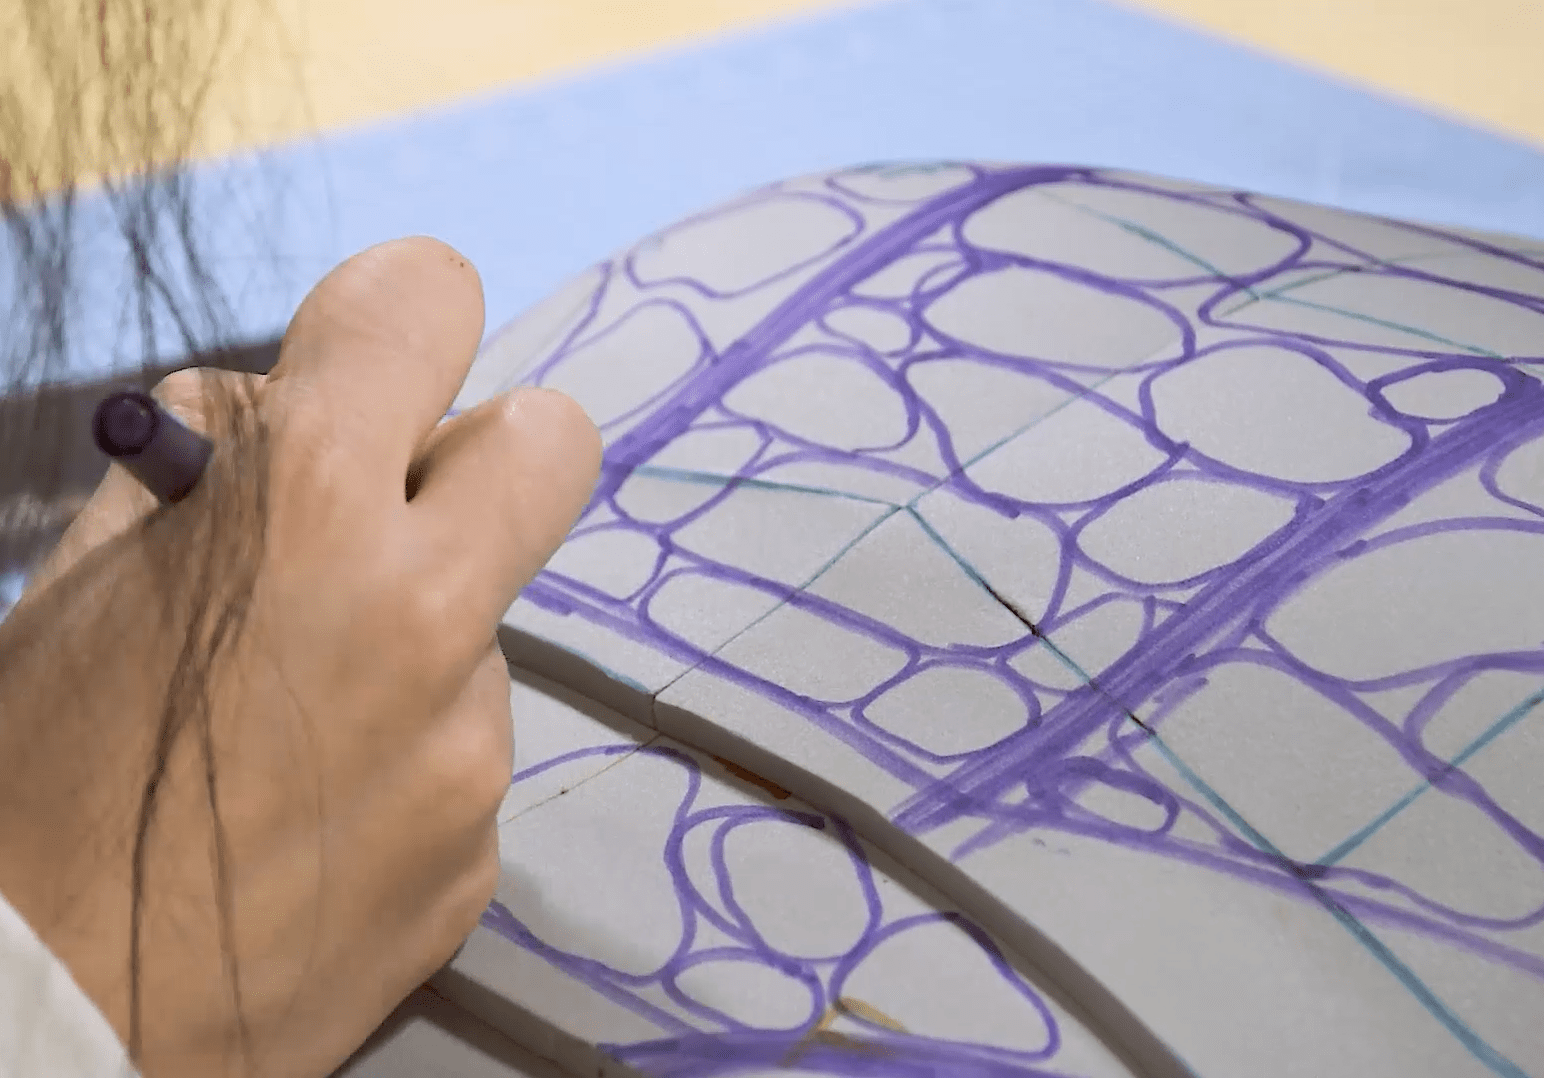
- Draw your design on your foam with a pen, pencil, or chalk first. When you’re drawing, you’ve got two options to keep in mind: you can either use your soldering iron to trace over the lines, or you can use it to carve away the negative space around your design, depending on which parts are supposed to be raised. Just make sure you know which you’re doing before you start carving.

- If you’ve never used a soldering iron before, or if you want to get a feel for what your design might look like and practice the strokes, you should always test it out on a piece of scrap foam first. Some soldering irons are a lower wattage and temperature than others, so you want to get a feel for how much pressure you’ll need to apply in order to melt the foam to the depth you’re looking for. Hotter soldering irons will barely need to touch the foam, if at all, to melt it. Practicing will help you understand how light of a hand you’ll need in order to avoid burning your foam.
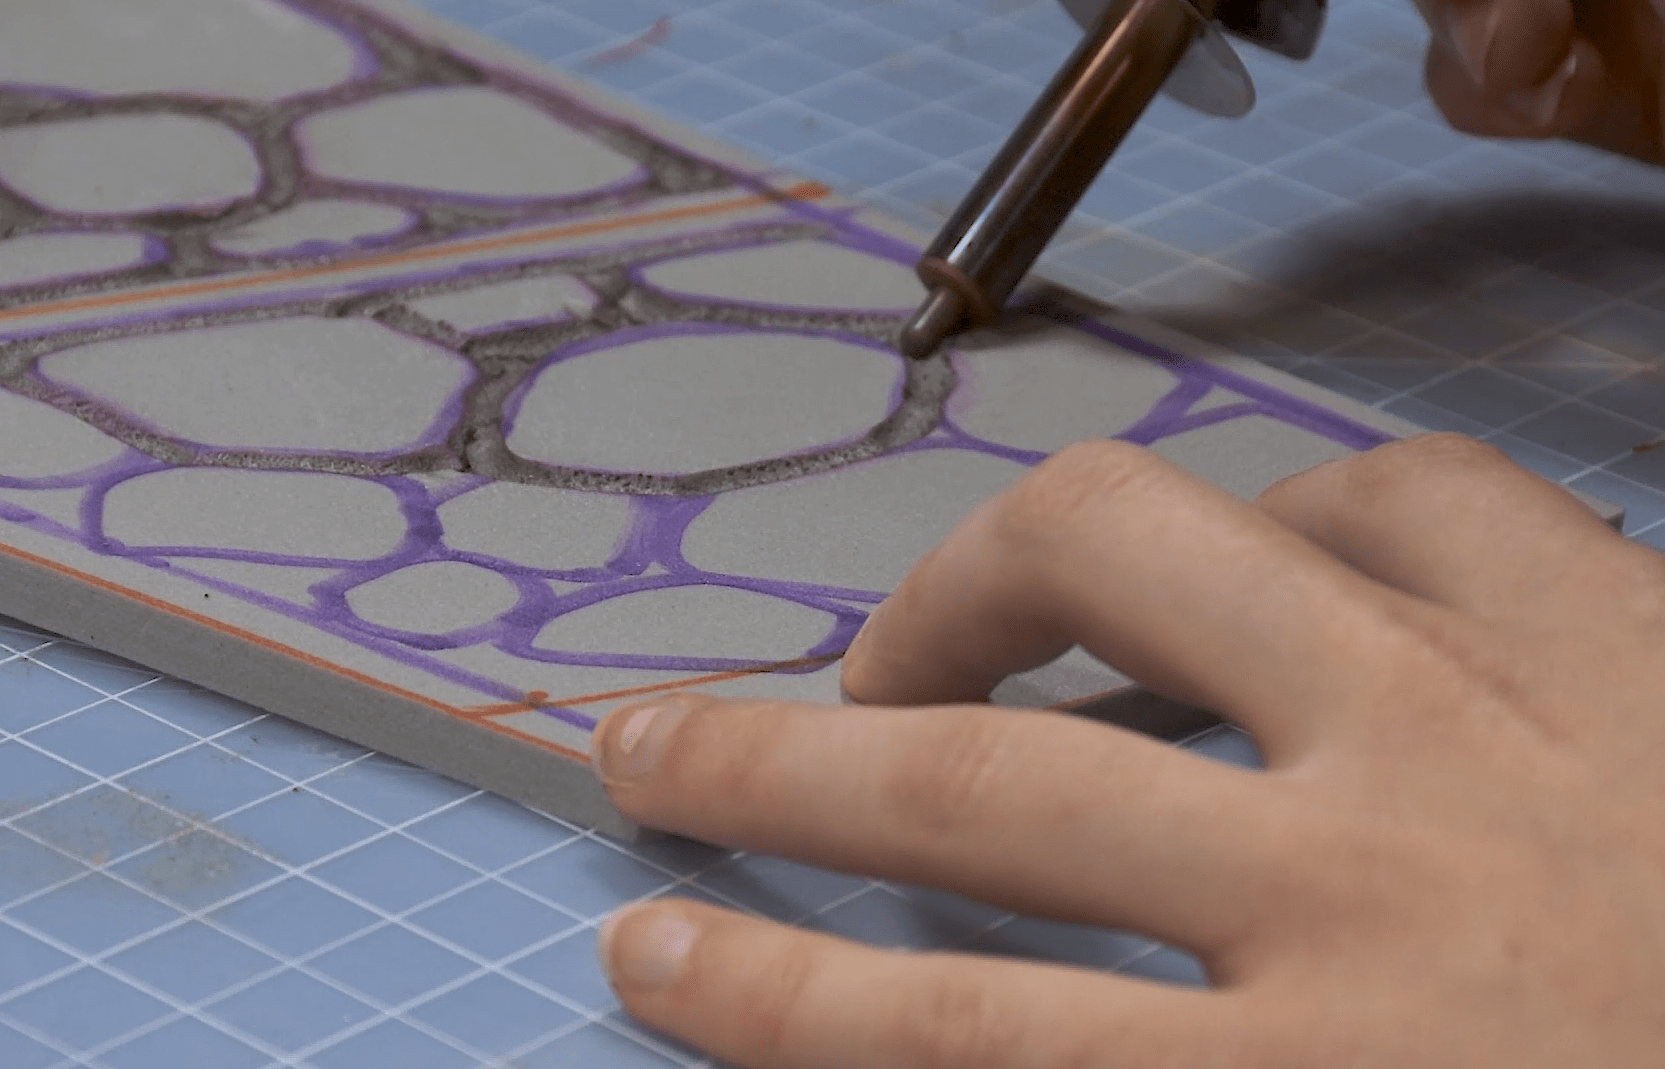
- When you’re ready to carve your actual armor pieces, use light strokes with the tip of your iron to the foam to melt away the foam along your design. Don’t leave your tip touching the foam for more than a second or two with each stroke.
- We’d recommend getting your main design down first before going back to even out any rough texture in the foam where you melted it. You can flatten those ridges down a little more with your iron, or in extreme cases, use sandpaper or a Dremel to flatten them.
- Once your foam is carved, you can paint over it as desired.
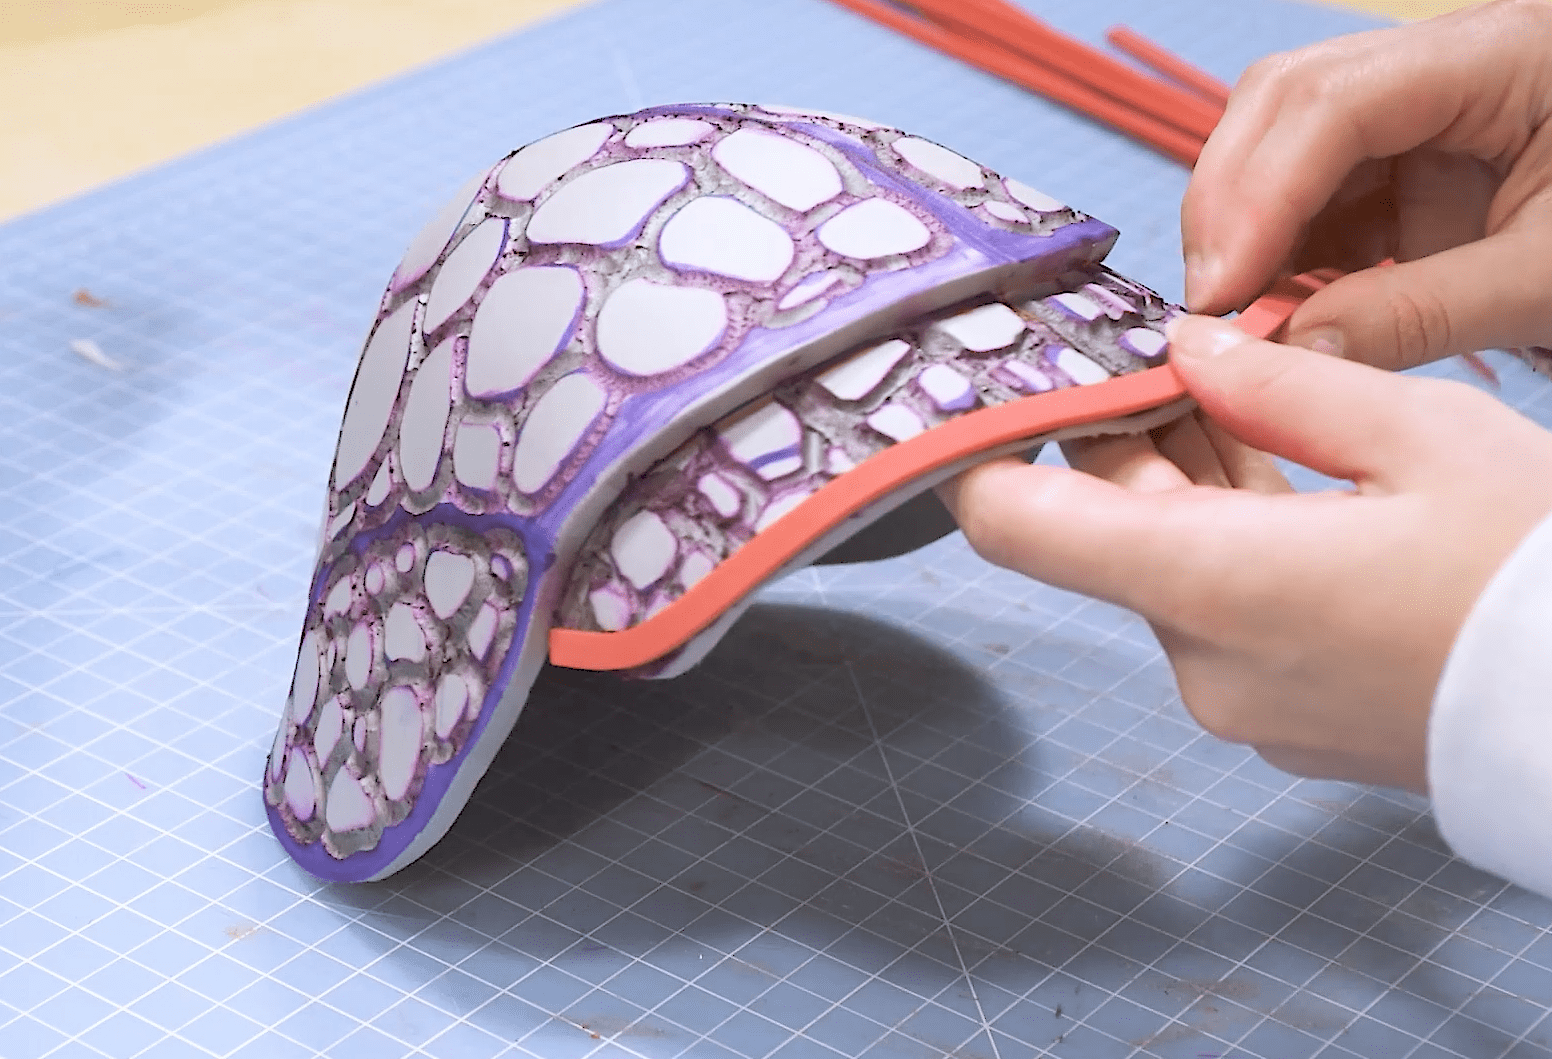
Carving foam with a soldering iron is effectively drawing your design into the foam with heat, leaving you with an embossed-looking design or 3D texture that mimics the look of the piece you’re going for. As long as you start with a plan and go slow, you should be able to get the hang of carving pretty quickly!
What Can You Make with EVA Soldering?
EVA soldering is a popular technique for adding detail and texture to foam armor because in many respects, it’s quicker and easier to carve into foam that it is to attach something to the top of it in order to add depth and dimension. While that’s certainly an option as well, carving your foam can help you create much subtler effects (if that’s what you’re going for) and keep your armor from getting too heavy with lots of add-ons. While the density of your foam and the temperature of your soldering iron can affect your results with this process, the carving process should look similar no matter what materials you use.
But now that you know how to carve with your soldering iron, what can you do with this skill? The applications are basically unlimited and will depend on what your cosplay demands and what your imagination can come up with. However, there are several most common applications for foam soldering.
- Weathering marks and scratches
- Creating textures like scales, pitting, weaving, and more
- Embossed decorations, from purely ornamental to ridges, insignias, and crests
By carving into your foam, you can give your armor quality, realistic 3D effects that mimic other textures and save you a lot of time, material, and money that can be better spent making more cosplays.