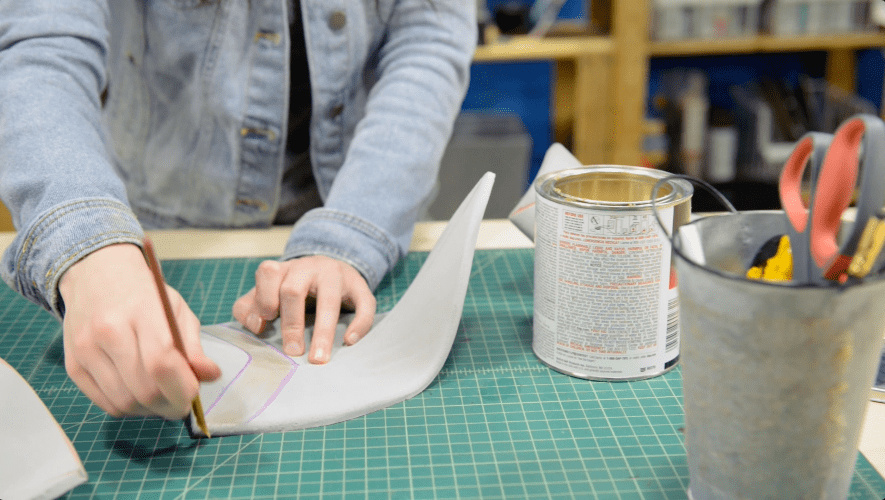
L200 foam is a great option for cosplay armor and props because of its low density construction and the wide variety of thicknesses you can buy it in. While L200 is actually just a specific type of EVA foam, many cosplayers enjoy building with it because of its similarities to craft foam in terms of handling and texture bundled with the ease of buying it in larger sheets and rolls for large projects. But when it comes to building armor or weapons from L200, you want to be sure to use the right glue to hold it all together.
While the best choice of glue will always depend largely on your specific project and needs, there are some adhesives that just work better with L200 than others. In this post, we’ll explain how to glue L200 foam with common cosplay adhesives as well as discuss what products you can use to seal your foam before painting.{{cta(‘3698bbd9-607d-4365-b560-16b472ca9c34’)}}
Best Cosplay Glues for L200 Foam
- Contact cement: One of the strongest glues you can use on most types of foam, including L200, is contact cement (also known as barge or barge cement). Contact cement is an industrial-strength adhesive that will permanently bond your foam pieces together and will not budge, even along thin end seams or other small joints. Because it’s a solvent-based glue, as opposed to something like heat-activated, the glue won’t reactivate in high temperatures or peel away from the surface. However, contact cement does require some time to cure, and as the solvent evaporates, contact cement does produce toxic fumes that are harmful if breathed in. You’ll always need to use contact cement with a mask and/or in a well-ventilated area.
- Attach & Build double-sided adhesive sheets: If you’re looking for an easy-to-use permanent adhesive for L200, double-sided Attach & Build adhesive sheets are a great option. To use Attach & Build, you simply need to cut the sheet to size, peel, and stick your surfaces together for an instant bond with no mess, no fumes, and no dry time. Attach & Build works incredibly well with almost every common cosplay material, so it’s an especially useful choice if you need to glue L200 to a different material and need a glue that will perform well on both surface. Attach & Build can work perfectly for both large and small glue applications.
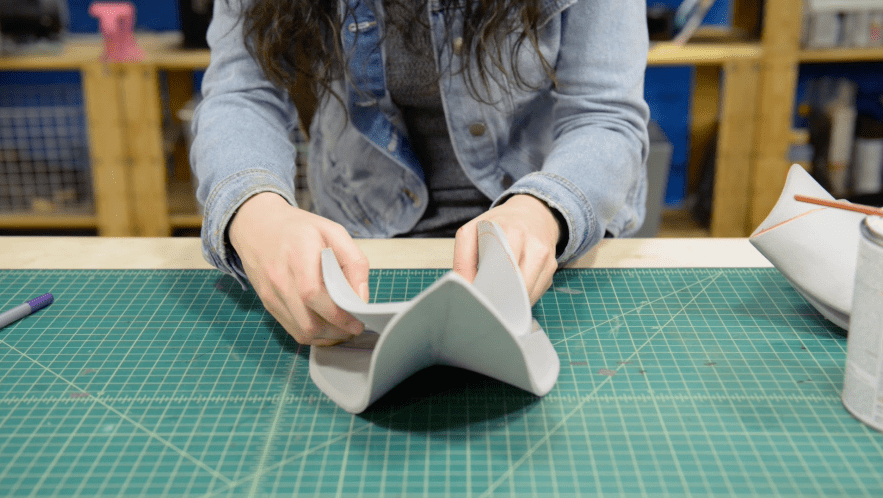
- Hot glue: Another great glue option for L200 foam is hot glue. Most cosplayers will have a hot glue gun and glue sticks on hand, making hot glue a go-to adhesive solution for armor and prop building. It’s perfectly safe to use heated glue on L200, which won’t melt. Hot glue can also be a solution for combining pieces of multiple cosplay materials. Hot glue also has a relatively quick dry time, meaning you’ll have a few seconds to move your foam before the glue sets, but once it does, you can move on to the next task quickly. However, hot glue can potentially reactivate if your cosplay gets too hot while you’re wearing or transporting it.
- Spray adhesive: In certain applications, spray adhesive can certainly come in handy when working with L200 foam. Namely, spray adhesive (in its aerosol formula) makes it easy to quickly cover large, flat surface areas of foam quickly. It’s important to cover your workspace to protect from overspray, but if you need to build quickly, it’s much faster to apply spray adhesive than it might be to brush on large patches of something like contact cement. Many cosplayers enjoy using spray adhesive to stack sheets of L200 to make thicker pieces of foam. You can also cut through spray adhesive after gluing pieces together, though it may gunk up your scissors or blade.
- Super glue: For smaller L200 pieces, you might find that turning to super glue is a convenient adhesive solution. Because most super glue comes in a small bottle with a precise applicator, it’s ideal for adding small pieces of L200, like armor details, to your cosplay. Super glue is also easy to carry with you or to use for last minute repairs in the workshop because it can get into small gaps or tears and press them back together fairly quickly.
Sealants and Adhesives for L200 Foam
When you’re working with foam, you may already know that you need to seal the surface of the foam with something flexible before painting with spray paints, acrylics, or other combinations of paint. Sealing your L200 will stop the foam from soaking up the paint, giving you a richer final color, while also strengthening your foam but keeping it flexible enough that your paint doesn’t badly crack or ripple. For L200 foam, you have several choices for adhesives and other products to use as a sealant, so we thought we’d list some of our top sealant choices here.
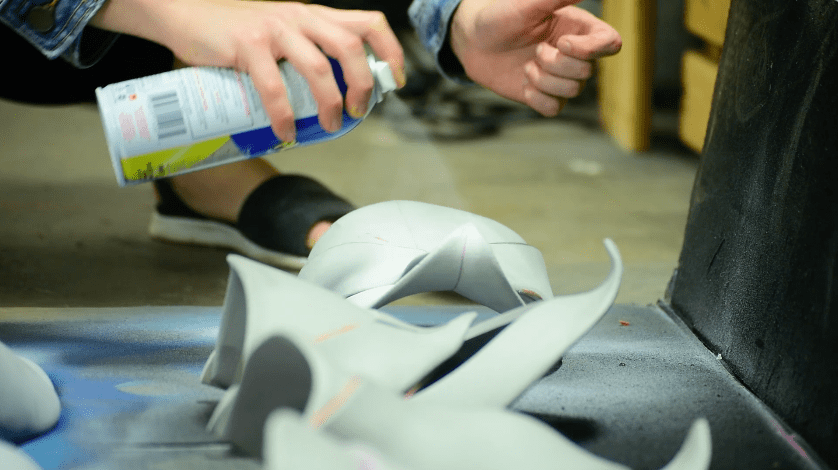
- Plasti Dip: Plasti Dip is a rubberized automotive paint that makes a great sealant because it’s designed to remain flexible even after it dries. We used Plasti Dip as a sealant on both our Astrid and Kat cosplays.
- Wood glue: Many cosplayers use wood glue as a cheap sealing alternative because they may already have the adhesive on hand and it provides a smooth surface to paint over.
- White glue: White school glue (PVA) is also a common foam sealant that works with L200. Most cosplayers dilute the white glue with water to help the adhesive brush on smoother.
- Mod Podge: Mod Podge is essentially a craft cement that’s a toned down version of contact cement, and it can also seal the surface of the L200 against foam and damage.
Of course, the adhesives and sealants you choose for your L200 cosplay pieces should always depend on a variety of factors, including your design, what you have on hand, your time frame, and costs as well. Thankfully, foams like L200 are fairly nonreactive and versatile in terms of the adhesives they’re compatible with. Sometimes, it just takes a little experimentation to find out what you like to work with best and provides the best results.