Cosplay makers have a bit of a reputation for experimenting with products from outside of the costume and craft store aisles. In order to achieve a certain look or benefit, they’re known to get creative and use materials against their intended purposes. While you should always keep safety in mind when experimenting with new products, these trials and tests can result in huge innovations in the cosplay industry. In fact, one of the biggest trends in the cosplay community today was inspired by this kind of experiment: the adoption of thermoplastics for armor, weapons, and more.
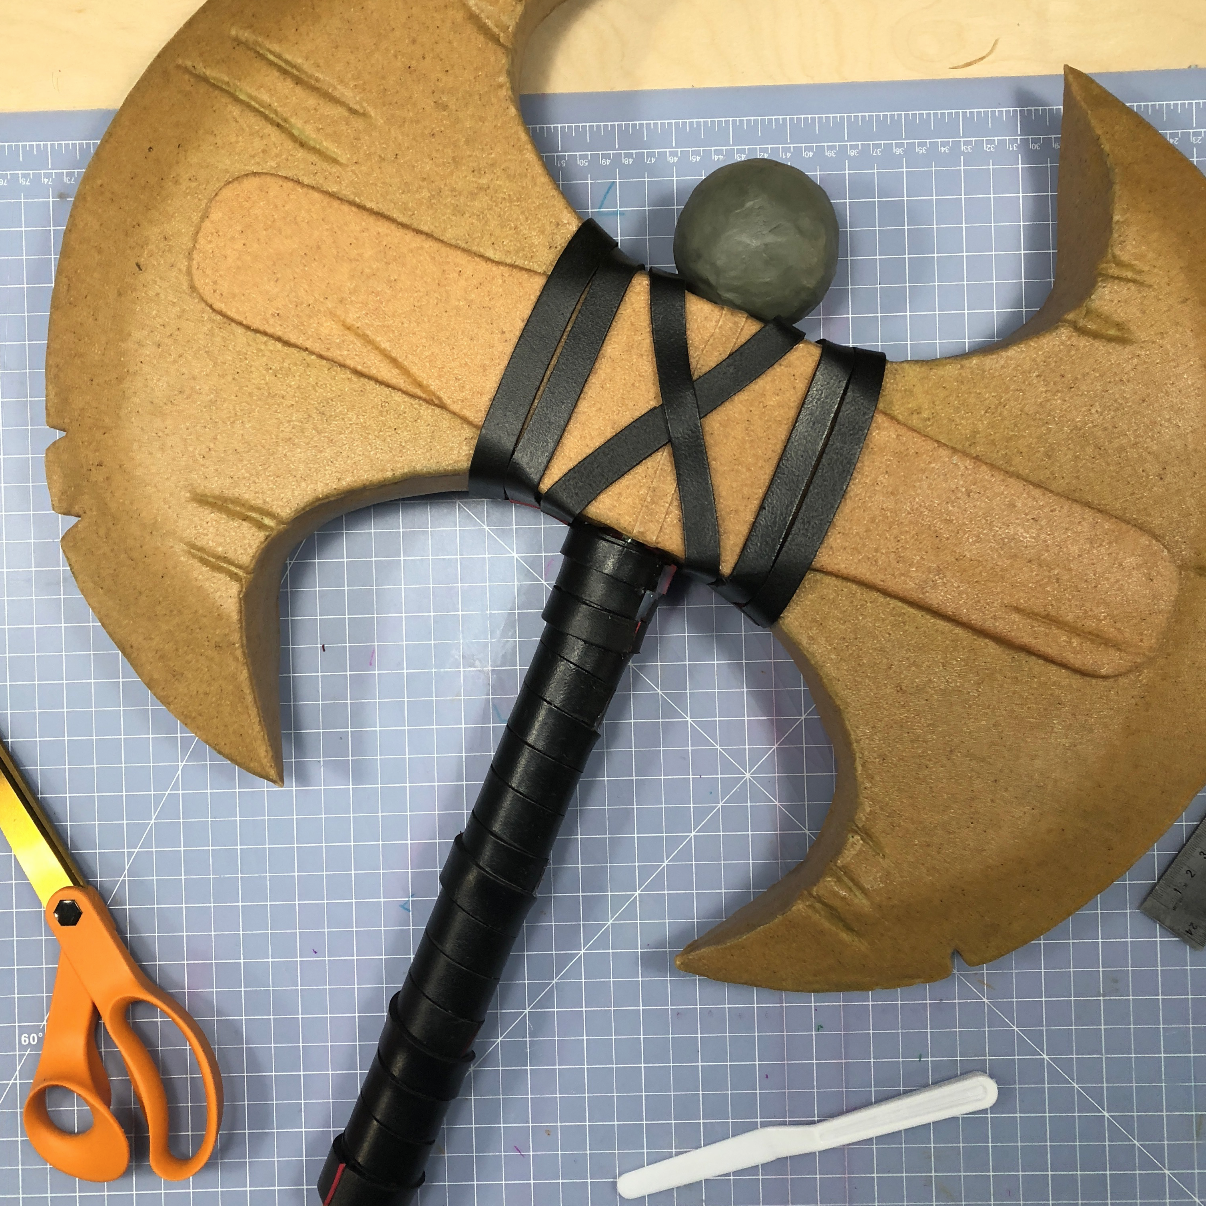
Working with heat and thermoplastics allows you to mold durable shapes as well as strengthen your props and weapons against potential damage during travel and transit. In this post, we’ll explain the basics of using thermoplastics to protect your cosplay weapons on the road and give you an idea of which products on the market can help you do it. You can see this process in action in our tutorial video on travel-proofing Astrid’s axe for the road.
A Quick Guide to Thermoplastics for Cosplay
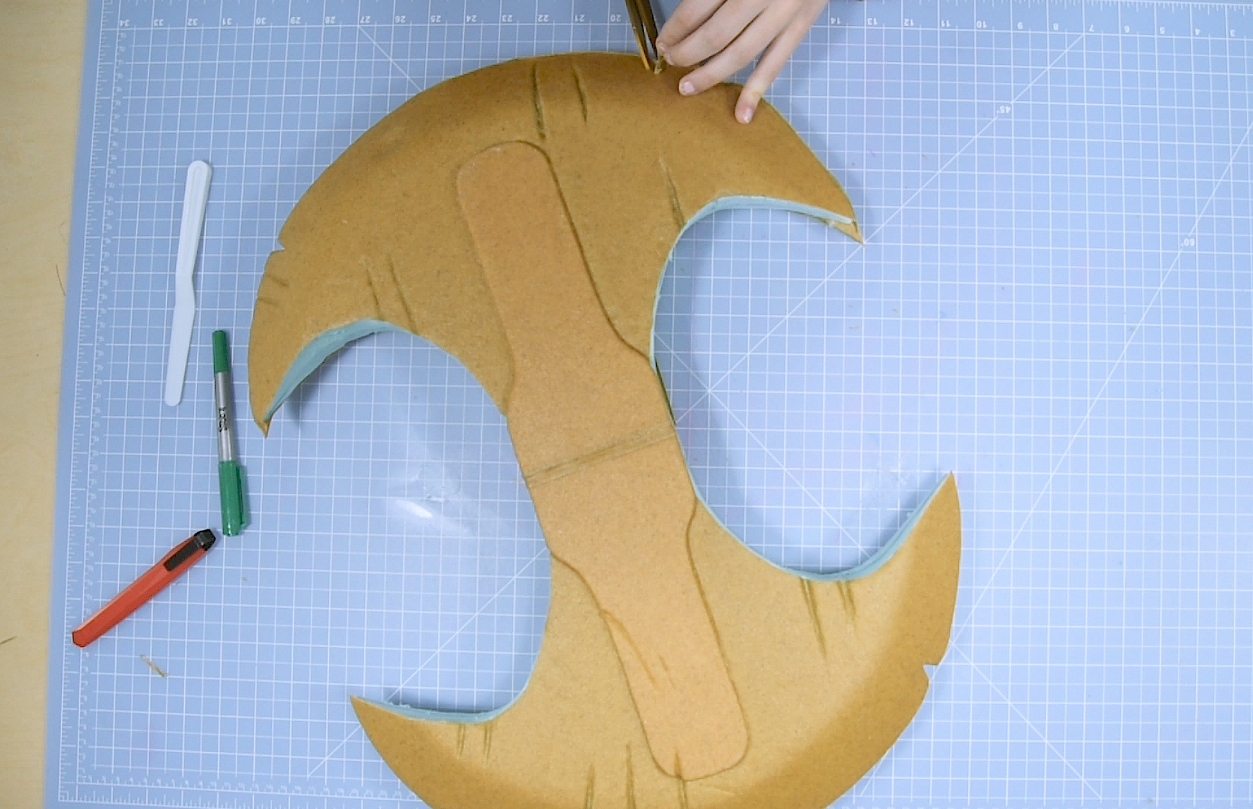
Thermoplastics are types of plastic polymers that can be molded into any shape when exposed to high heat and then hardened when cool. Because thermoplastics are heat-activated, they can be melted and re-formed multiple times in order to get just the right shape. While thermoplastics are a great choice for sculpting for this reason, another main benefit of working with thermoplastics is their durability. Some of the thermoplastics we’re discussing today were originally developed to strengthen the toes of work boots and shoes against workplace dangers. In cosplay, thermoplastics are a great option for coating foam weapons. They add an incredibly strong outer coating that won’t break, crack, or snap when you transport your weapon or carry it around at your next con.
Thermoplastics vary in texture, but are generally smooth when stretched under a source of heat. Though they’re generally available in neutral base colors like tan, black, and white, they can be primed and painted virtually any color. While thermoplastics can seem a bit pricy to some, one benefit of thermoplastics is that any scraps can be melted down and molded or re-rolled into sheets, allowing you to use every last bit of what you have.
In order to coat your weapon in thermoplastic, here’s what you’ll need:
- Thermoplastic sheets (enough to cover all the foam on your weapon)
- Scissors
- A pen or marker
- A heat gun
- A clay sculpting tool (or something else to press the plastic down with)
- A Dremel
While some thermoplastics come in pellet form for melting and molding, thermoplastic sheets are the easiest to work with if you’re using them to coat your prop. A heat gun is our preferred method of heating because you can aim the heat at the specific area you’re working on. If you don’t have clay sculpting tools on hand, you can use a round chopstick or the back end of a paint brush to flatten your edges.
Step by step, the process for applying your thermoplastic to your foam is fairly simple. You’ll only want to apply thermoplastic once your foam is assembled and weathered with any cuts or gashes you want (though any fine details that could melt or be crushed under the sheet can go on top of the plastic). It may take you a little bit of practice to get used to working with your plastic, but remember: if you make a mistake, you can re-melt the plastic and try again. You can see how we covered Astrid’s axe in our tutorial video, but here is the general process:
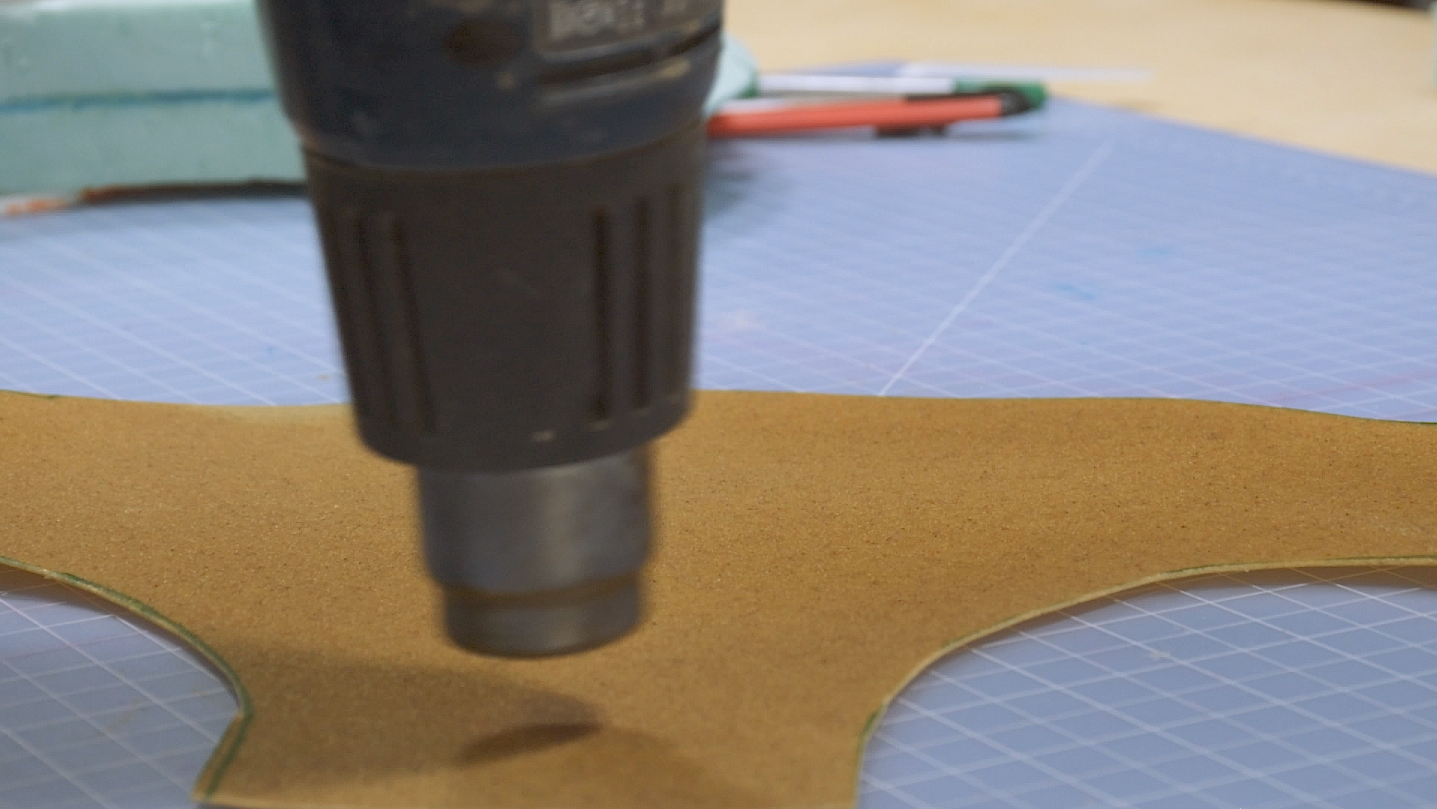
- Trace the shape of your foam onto a thermoplastic sheet using a marker. You want to cover all the sides of your weapon as well as the top, so allow enough room for your thermoplastic to wrap around your weapon, or cut a separate strip to cover the edges. If you don’t cut quite enough don’t panic: you’ll be able to stretch the plastic a little to cover the edges, or you can cut smaller pieces to fill in any gaps.
- Cut out your shape with a strong pair of scissors.
- Lay your thermoplastic carefully over your foam, lining up seams and edges as close as you can.
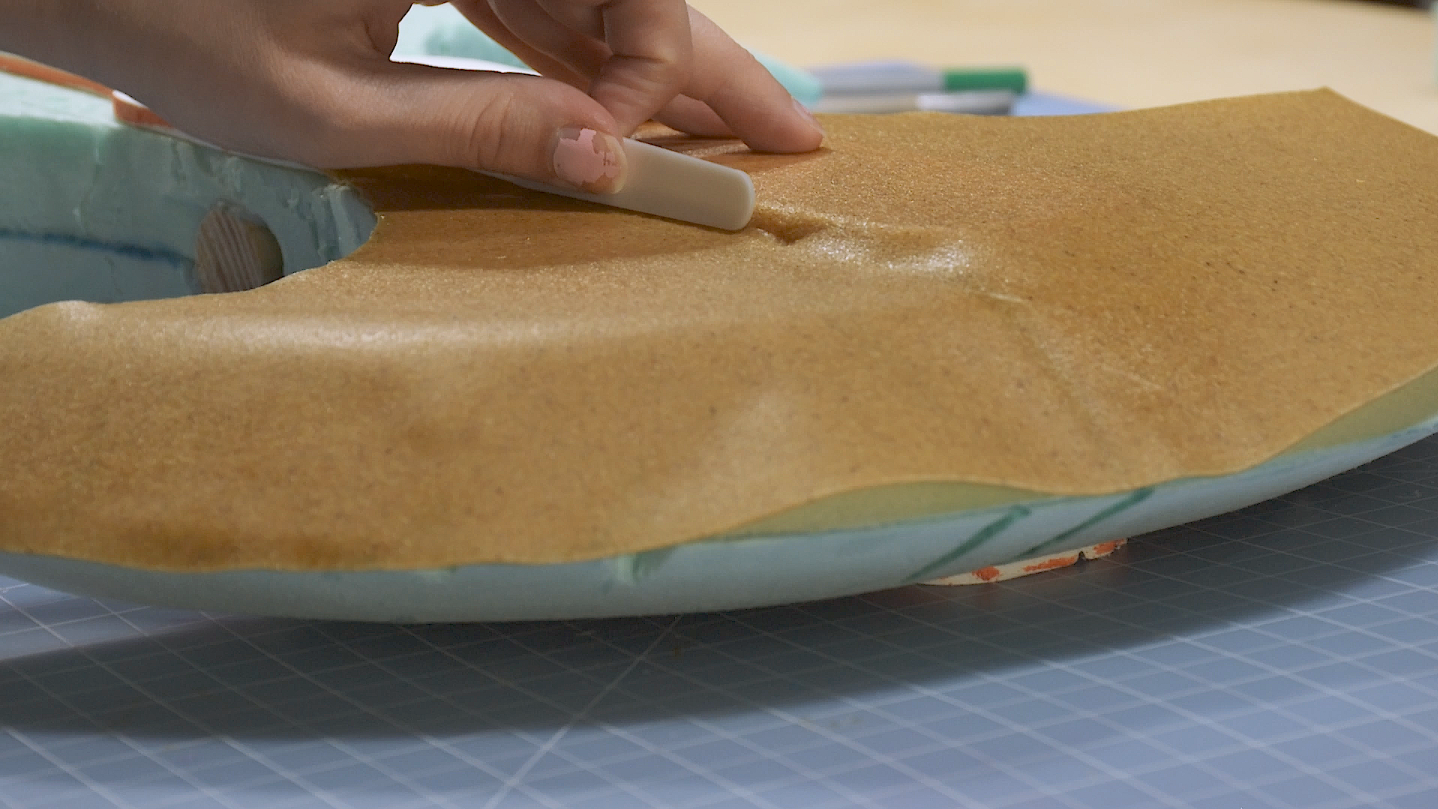
- Using your heat gun, heat up the thermoplastic and bend, fold, and form the sheet around your foam. If you’re working with insulation foam, be sure not to hold the gun in the same spot for too long; you could melt your foam.
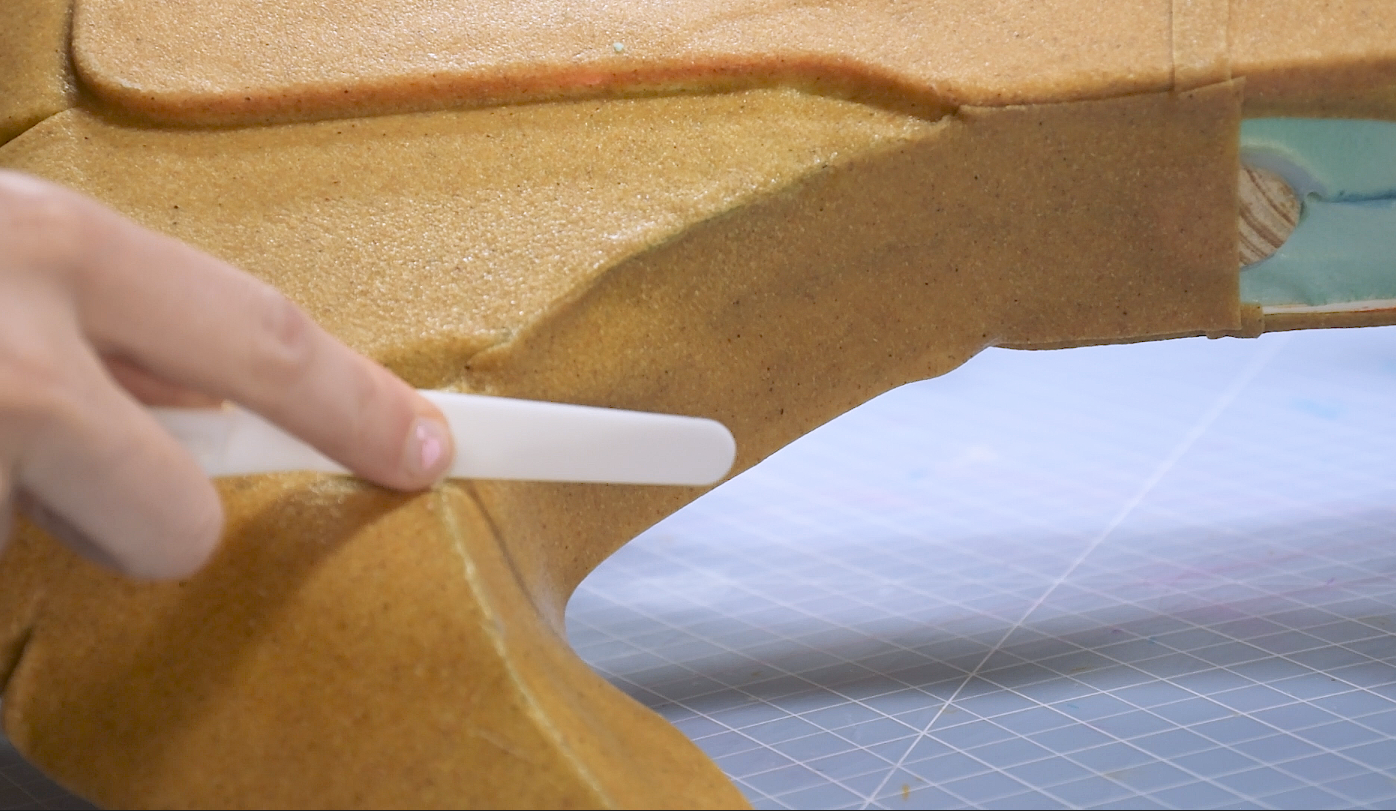
- Use your clay tool, chopstick, or paint brush to press the melted plastic down along any edges, seams, or indents under the heat. Mold the plastic around all of the edges on your foam so that it forms to the exact shape of your weapon. The plastic will be pretty hot to the touch, so we wouldn’t recommend using your fingers to sculpt.
- Under the heat gun, press the seams of your plastic together where they meet. Flatten them out as much as you can, but they don’t have to be perfect as long as all the foam is covered and the shape is close.
- Once your thermoplastic is cool, you can sand down any sharp edges along your seams using a Dremel.
With just a little practice, anyone can master this thermoplastic technique that gives cosplay weapons a professional finish and protects them from travel damage as well as wear and tear. It might take you a few tries to get used to it, but thermoplastic can be re-melted, so don’t worry too much about wasting your material.
Cosplay Thermoplastics Available Today
Since thermoplastics first came on to the cosplay scene just a few years ago, several options have emerged as cosplayer favorites. While all of these thermoplastics can be used in similar ways, their subtle differences might affect which you prefer to sculpt with. While cosplay or craft retailers might carry more varieties (sometimes at different price points and in different quantities), here are some of the top thermoplastics for cosplay available today:
- Worbla: Worbla is by far the most common and popular thermoplastic for cosplay. According to Worbla’s website, its thermoplastics are designed to be easy to use, specifically for costuming, craft, and theater. Worbla’s Finest Art, the flagship product, is an opaque tan thermoplastic made from renewable and natural raw materials, but the brand’s line also includes black, clear, and other thermoplastic colors in both sheets and pellets. We used Finest Art on our axe because of its inherent adhesive, easy handling, and strength.
- Thibra: Thibra is another brand of thermoplastic with a slightly smoother texture than Worbla. While Worbla would need to be primed before painting for a smooth finish, thermoplastic pro Svetlana from Kamui Cosplay reflected that this comes with trade offs. She finds that Thibra is so soft that it shows the smallest scratches and even fingerprints that are pressed into it during sculpting. Thibra might be better suited for sculpting fine details rather than coating your weapon.
- Wonderflex: Finally, Wonderflex is one of the oldest thermoplastics, and while its texture is similar to tan Worbla, the sheets are backed with a layer of mesh. While the mesh reinforces the strength of the plastic, it also makes the sheets less flexibility. Kamui Cosplay mentioned that it’s harder to use Wonderflex scraps over again because of the mesh as well. However, Wonderflex does tend to be more affordably priced and might be suitable for general armor and weapon sculpting.
Reviews like these should give beginners an idea of which thermoplastic might work best for them. However, these aren’t the only thermoplastic options on the market today. While Worbla is one of the most common cosplay materials overall and is great for general use, we’d encourage you to do your own research into the different thermoplastics available to you. Once you decide on the right product for you, your weapons and armor are already a step closer to improved durability and precise sculpting.