Gravity Rush Kat Cosplay Tutorial
One of our favorite cosplay series we have done is our Kat Lunar Form cosplay. As we have explained before, Kat can manipulate and create gravity as she wishes. She’s a selfless hero who uses her powers to go on many adventures and fight many foes. Her protector and best friend is a cat and fellow shifter named Dusty. Before Kat lost her memory, she was a queen by the name Alua. Kat rediscovering her past and its ramifications is one of the most unique elements of the Gravity Rush franchise.
While traveling to the Lost City in Gravity Rush 2, Kat gains Lunar Style ability. This new shifting style allows Kat to float and jump further. Kat can also perform a “Wormhole Kick” and teleport, thanks to Lunar Style. Kat’s Lunar style outfit features a black, romper-like base, a scarf, and some truly beautiful blue armor. You will only need a handful of supplies and a bright imagination to make this cosplay dream into a reality. One thing we found exciting about this cosplay was the challenge of making some pieces — such as Kat’s scarf — functional in real life, though they aren’t in the game.
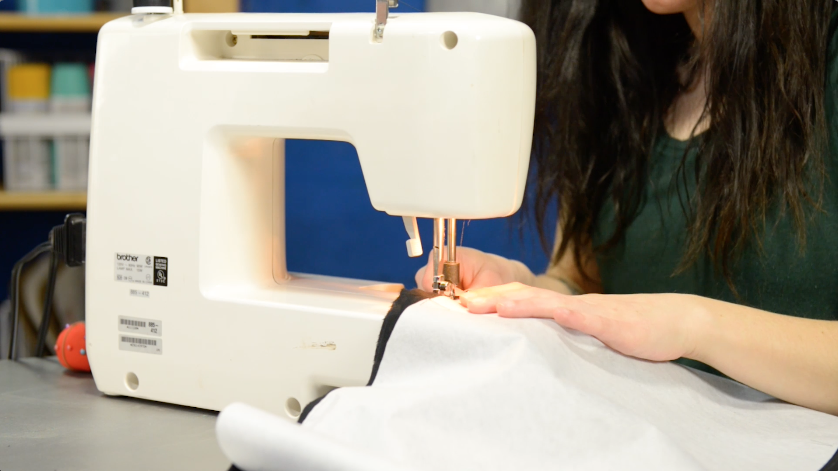
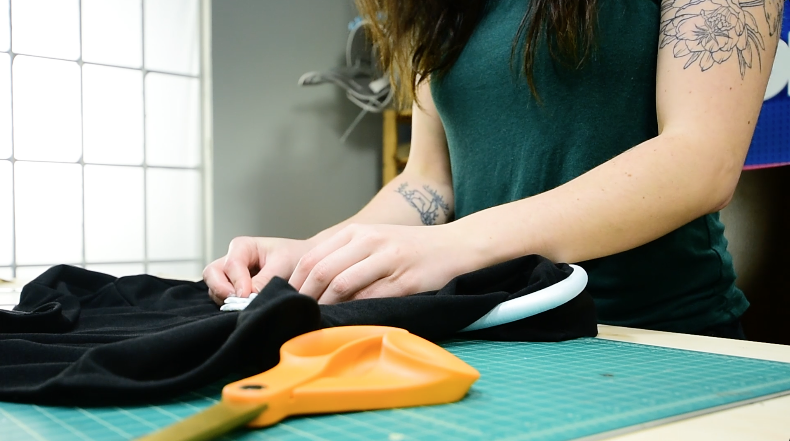
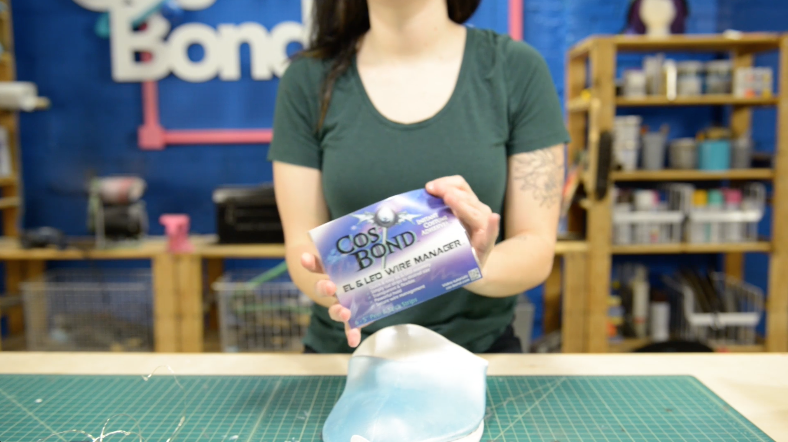
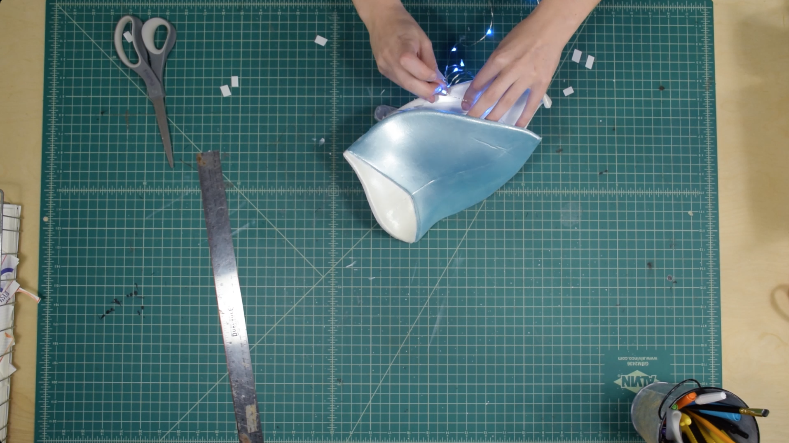
During this tutorial series, we altered an existing jumpsuit to make Kat’s romper, added foam and clay to the fabric using CosBond adhesives, and perhaps most exciting of all, we added LED lights to Kat’s arm and leg pieces using CosBond Wire Manager. If a Lunar Style Kat cosplay is not for you, you should still check out our series. We went over a ton of great skills (patterning, sealing, painting, and much more) that you can use in your next cosplay too.
Supplies
CosBond Products:
Tools:
- Permanent marker
- Scissors
- Pencil
- Paintbrush
- Box cutter
- Straight pins
- Iron
Other Products:
- Clear plastic wrap
- White duct tape
- Construction paper
- L200 foam
- Contact cement
- Black jumpsuit
- Foam tubing
- Foam clay
- Black fabric
- Interfacing
- Construction paper
- Gray fabric
- White Plasti Dip
- Rust-Oleum Universal Gloss Pearl Mist Pearlescent spray paint
- Plaid Folk Art Metallic Acrylic Paint in 2588 Ice Blue
How We Made It
Patterning, Assembling, and Altering Kat’s Lunar Form Cosplay
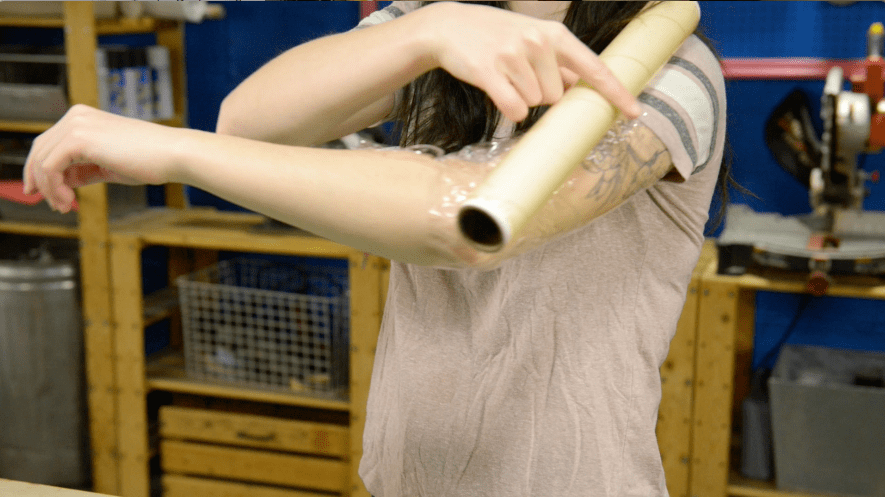
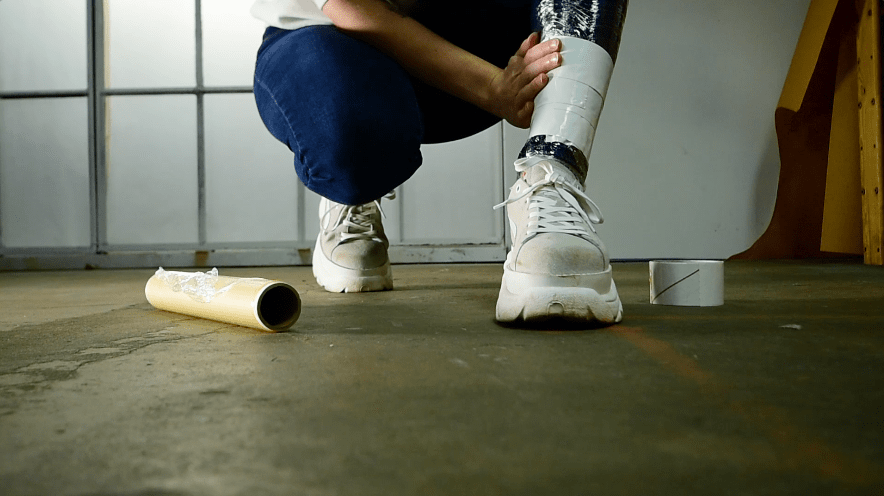
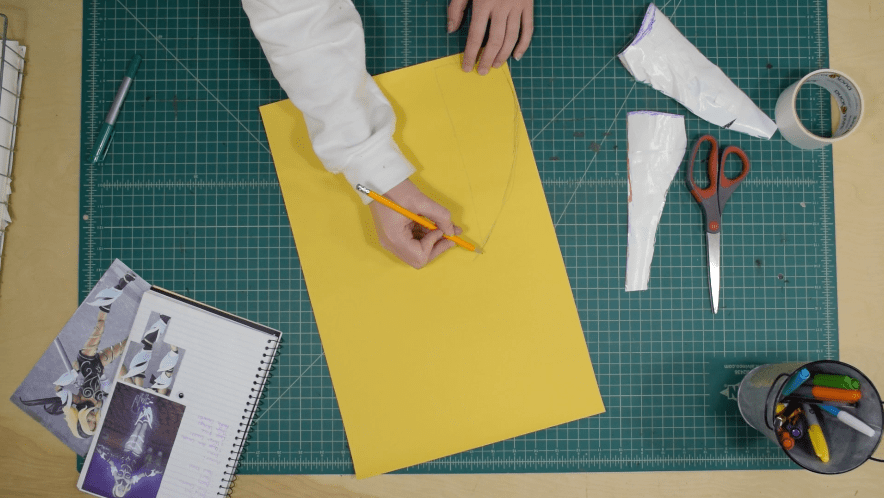
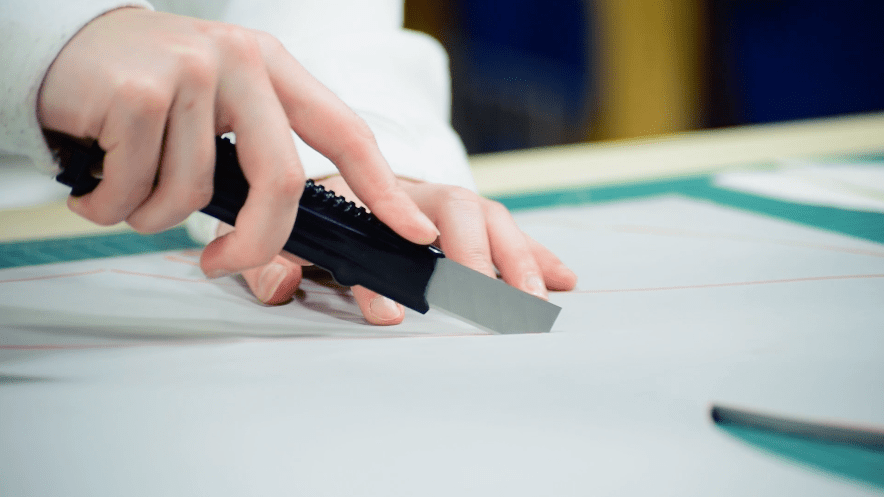
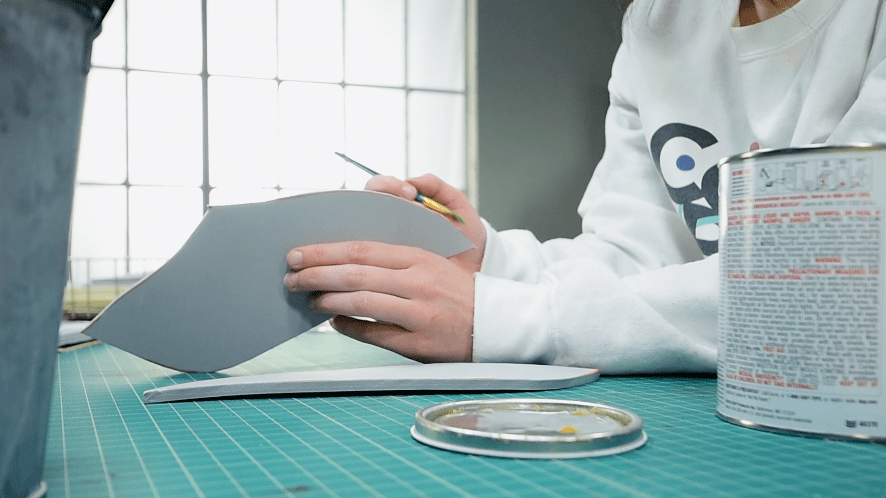
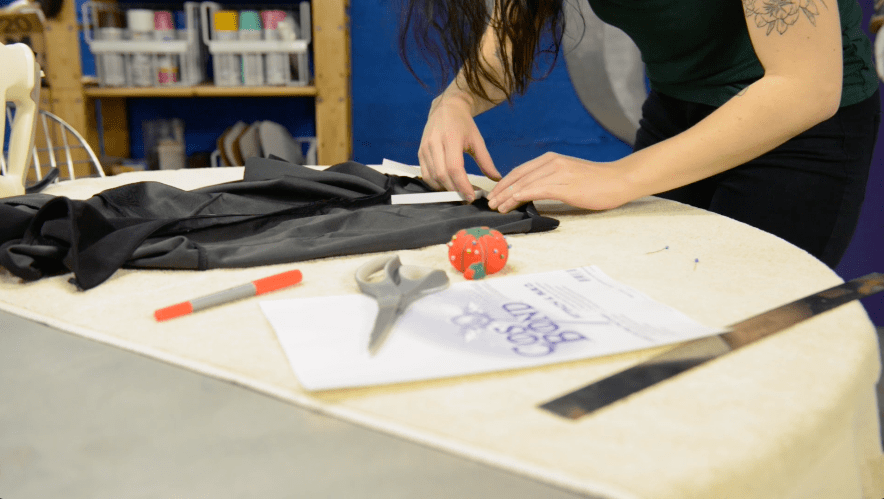
In this episode, we showed you how we got started with the cosplay by patterning Kat’s armor, assembling those armor pieces, and altering the jumpsuit that would become the base for Kat’s outfit.


Outfit Detailing and Armor Painting
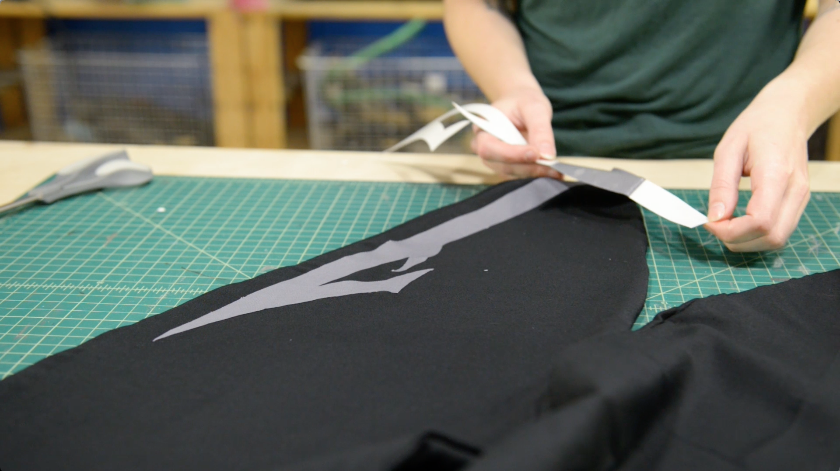
After patterning and assembling the main foam armor components of our Kat cosplay, as well as prepping her romper/jumpsuit outfit for decoration, we moved into the second stage of our build. With the major costume elements ready, we moved on to some of the more decorative, detailing tasks for our cosplay. Kat’s lunar form outfit has a lot of glowing detail that we still needed to create before we could attach them all to our base pieces. Once we took stock of all the details we needed, we figured out everything we needed to tackle next: Kat’s corset decorations, her romper’s sun detail, and her long scarf. We also needed to get our foam armor pieces sealed and painted during this stage.

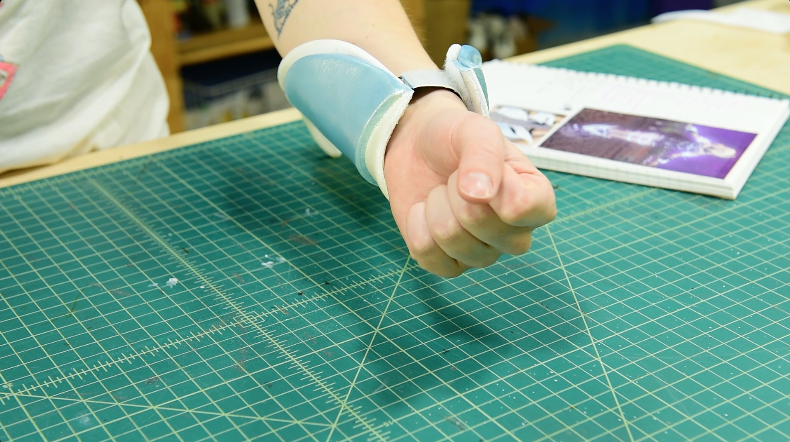
LEDs, Final Foam Details, and Strapping Kat’s Lunar Outfit
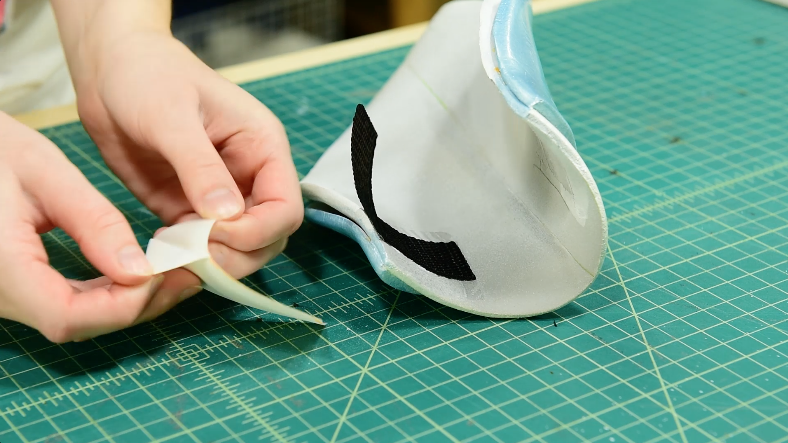
By this stage, all of the main structural elements of our Kat cosplay had come together. With our armor pieces assembled and painted and all of our foam ready to be attached to the rest of the cosplay, putting all of the pieces together was one of the only things left to do. That is, besides our big showstopper: the LED lights. We knew that LEDs would make Kat’s armor look more accurate to her glowing pieces in the game, and with CosBond’s Wire Manager on hand, we knew that adding the blue LED strings we got would be simple and straightforward.