Armor is a huge mainstay in cosplay designs — obviously, a lot of characters from games, shows, and movies wear armor. Just like there are numerous types and styles of armor, there are also many different ways to create your armor from EVA foam. You can find a wide variety of armor patterns out there on the internet, and for some cosplayers, those make a great starting point. But when you’re working with your own original designs, or if you want the best fit possible, sometimes your best option is just starting from scratch with a custom pattern.
While the math and measurements of traditional pattern-making can be tricky and complex, there’s an easier technique that cosplayers have been using for years to make perfect-fit armor pieces before they even start cutting foam. In this post, we’ll show you how to make a custom foam armor pattern using plastic wrap, tape, and your own body.
How To Make An Armor Pattern With Tape and Plastic Wrap
Once you’ve chosen your character, collected any reference images, and decided on your armor design, you can create your own custom pattern with just a few materials you probably already have on-hand. Make sure you have enough duct tape and plastic wrap to cover the area you want to pattern before you get started — you don’t want to have to run to the store with your arm in a cast because you ran out halfway through!
Here’s what you’ll need:
- Duct tape (or another strong type of tape)
- Plastic wrap
- Permanent marker
- Scissors
- Construction paper
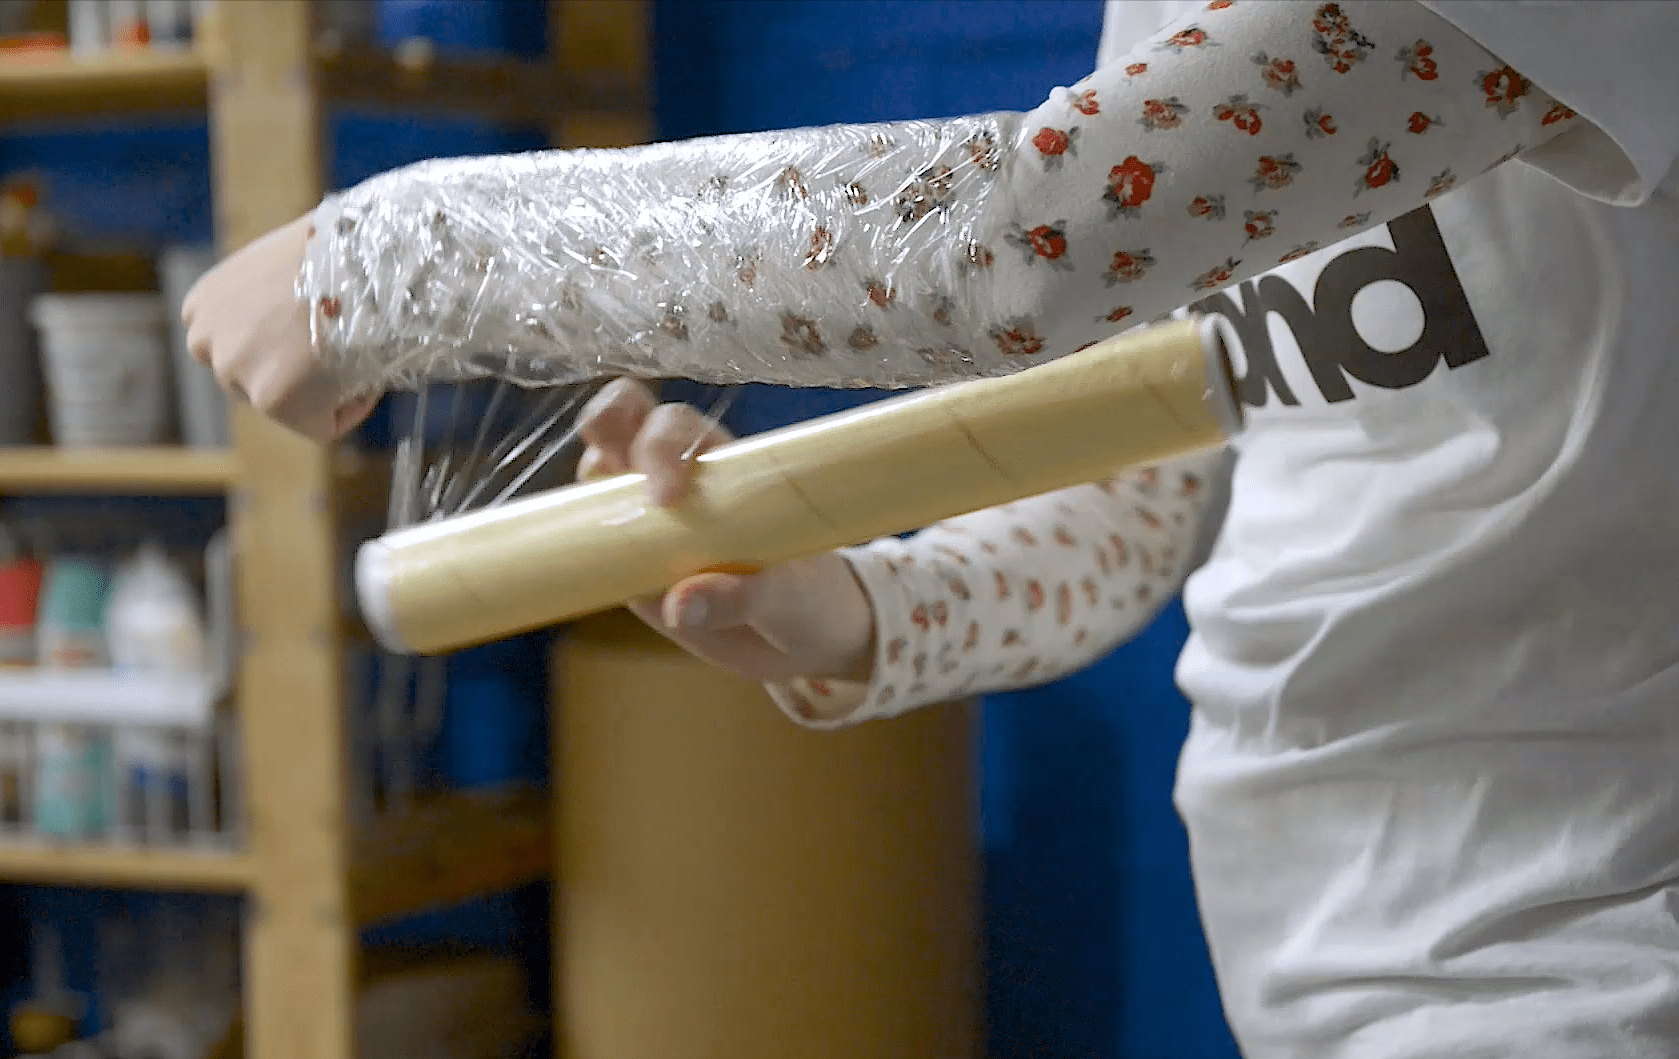
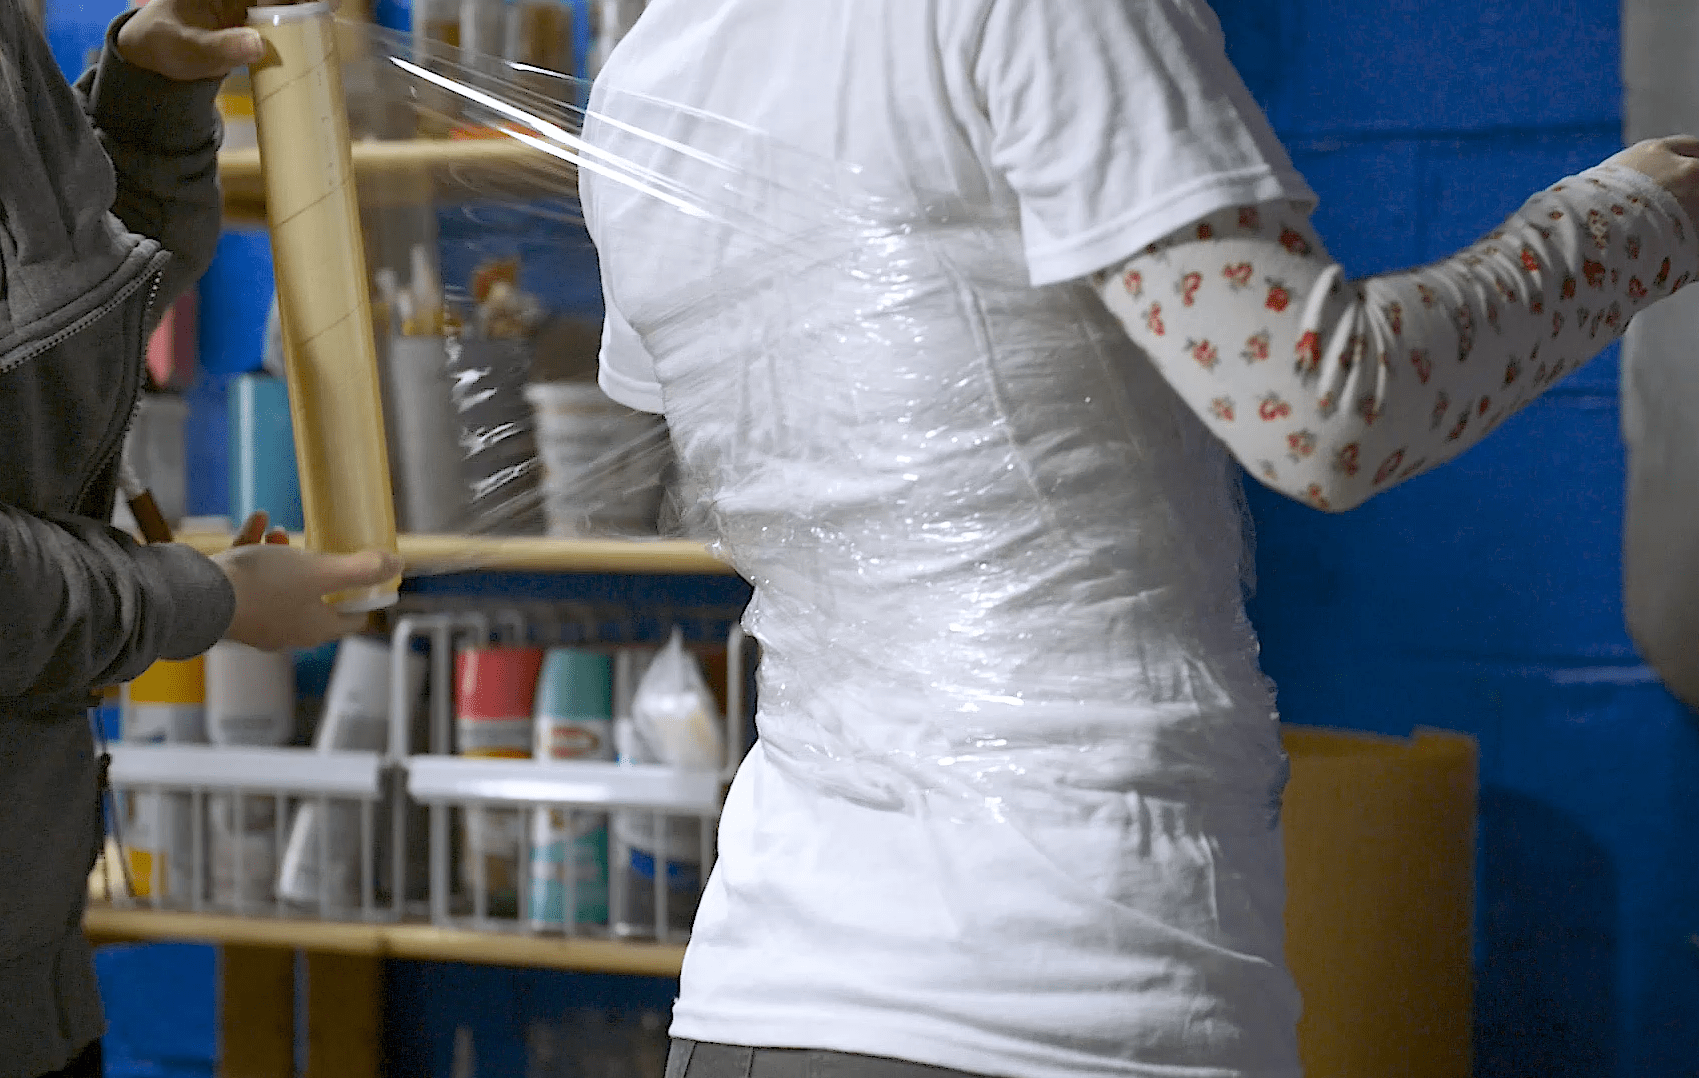
- Wrap the area you’re armoring in plastic wrap — not so tightly that you lose circulation but enough that there’s not too much excess, bulky plastic. The plastic will protect your skin from the tape and make it easier to cut off your “cast” and lay it flat.
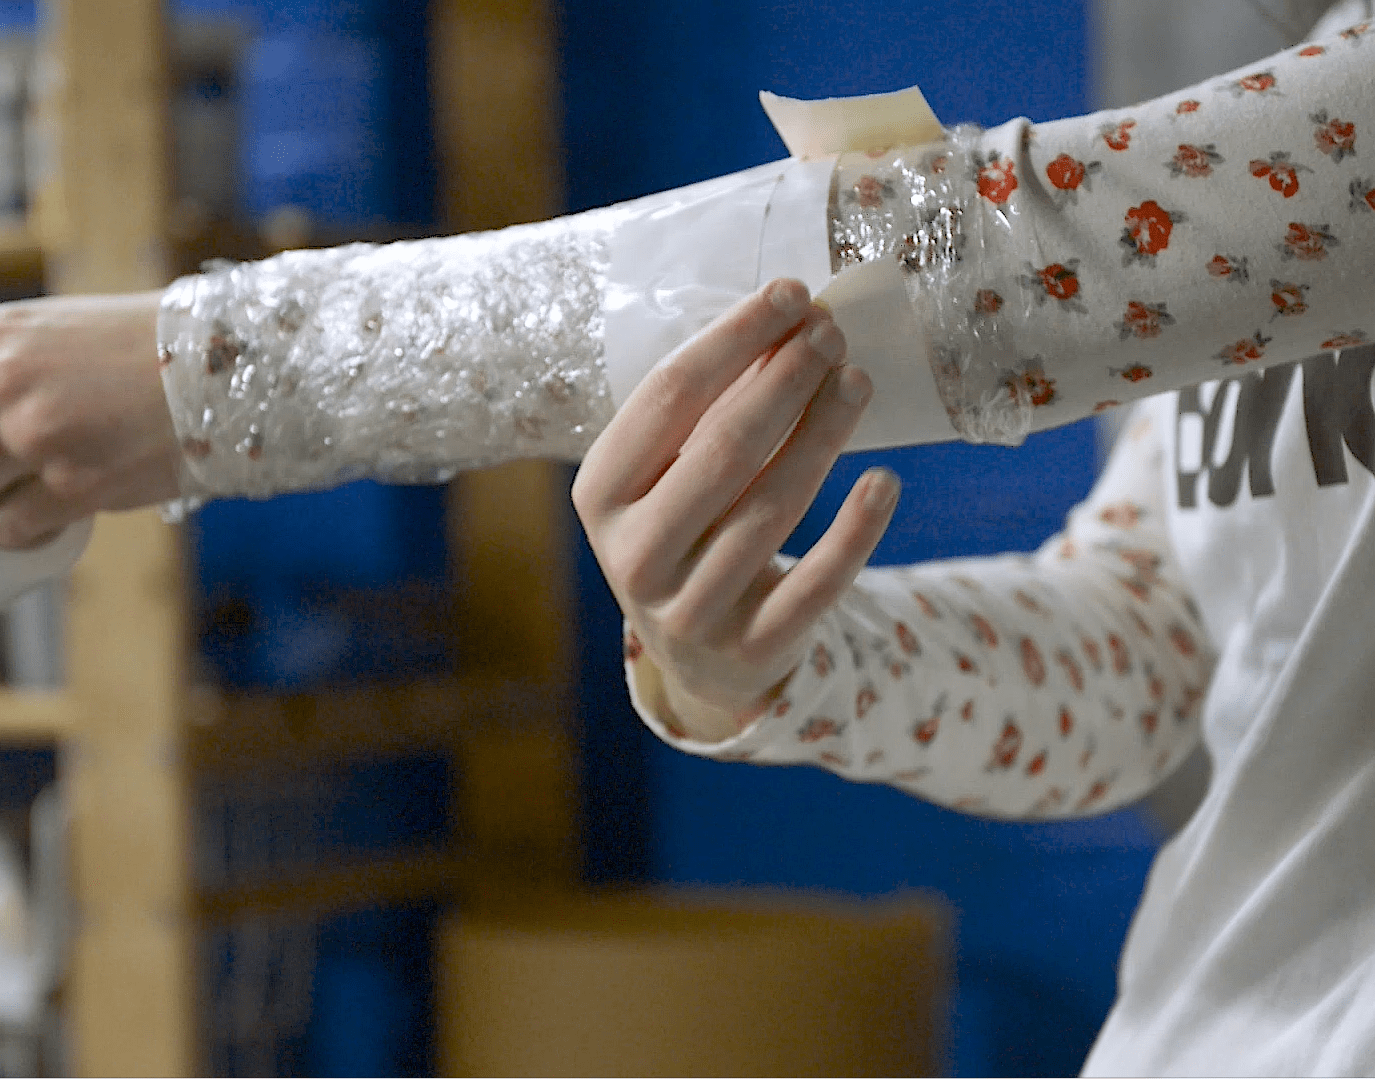
- Use longer strips of tape to secure your plastic in place so that it doesn’t move around too much while you’re taping. For example, if you’re making a breastplate, tape around your waist first, or if you’re making a gauntlet, tape around your wrist. Tip: using white duct tape makes it easier to see the designs you draw on.
- Use smaller strips of tape to cover the entire area that you want your armor piece to cover. This will create a 3D “cast” of your body. Try to stick the tape down flat to the plastic wrap without making it too lumpy. To cover lumps or areas where you made the tape too loose, pull your cast together and tape over it again. Continue taping yourself down until you’re satisfied with the fit.
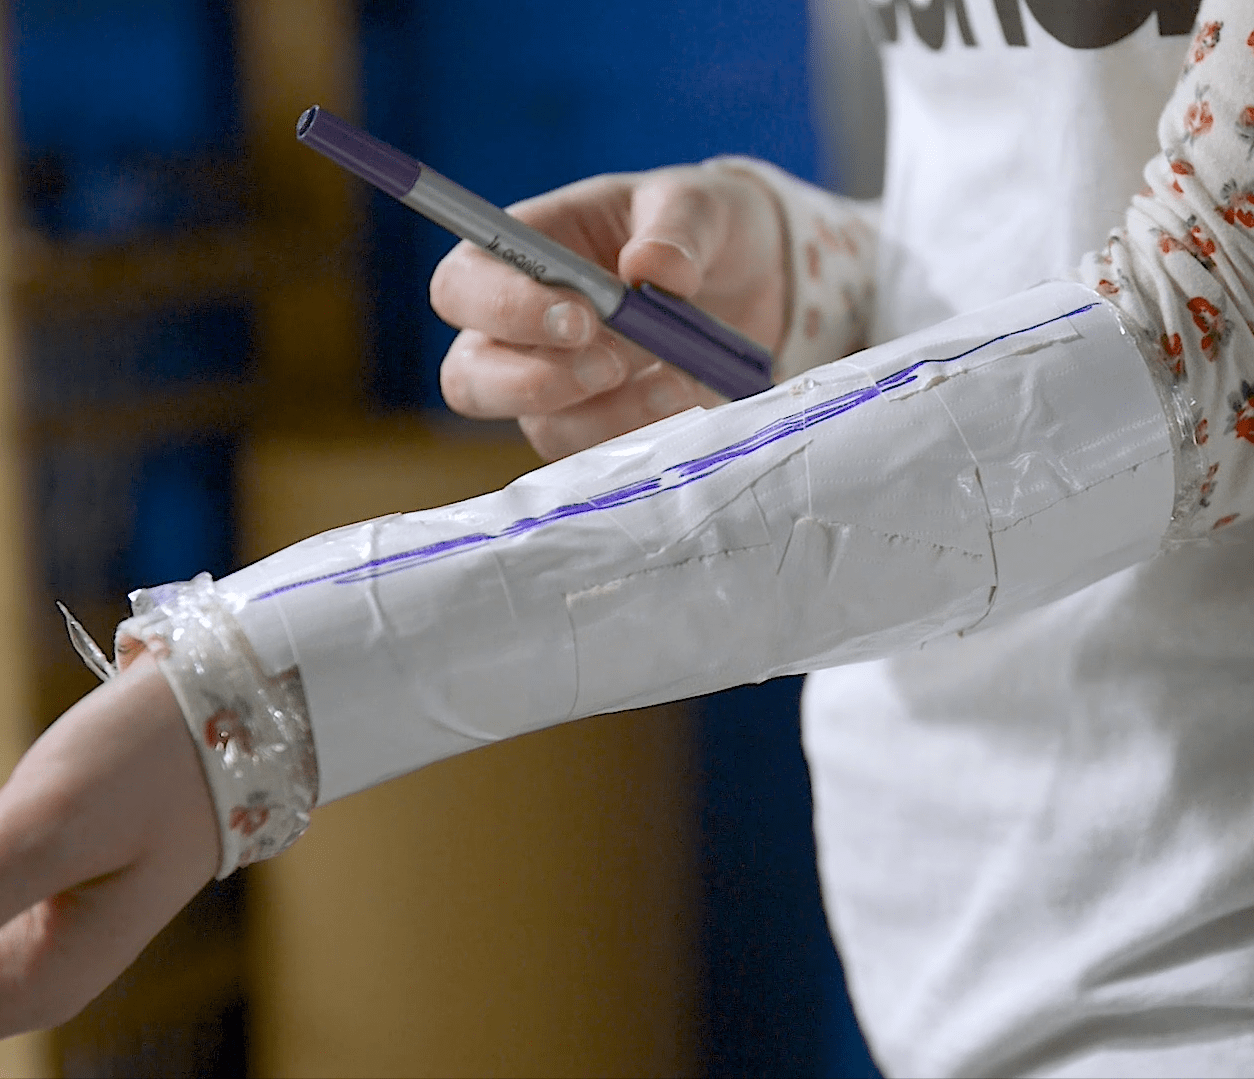
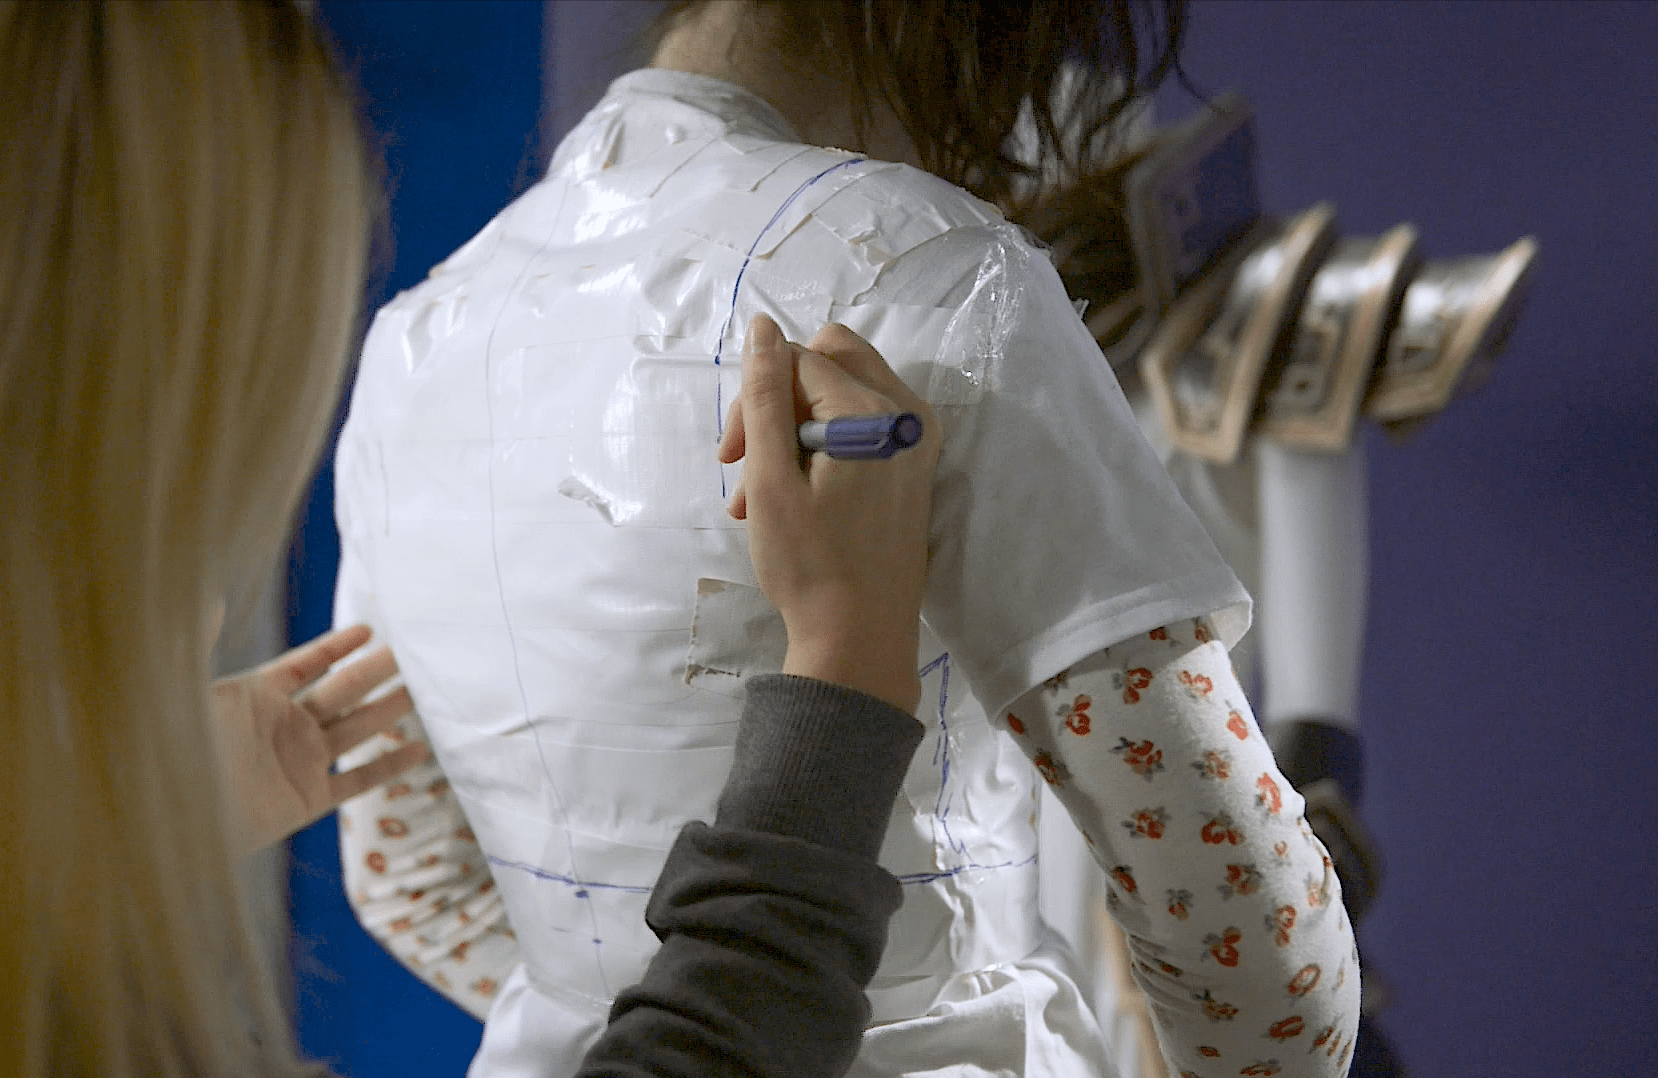
- At this point, you can use your permanent marker to draw your basic design directly onto your tape. Draw on your edges and seams so you know what size and shape to cut your pattern pieces. You can also draw in where some details might go and mark important reference points, like the center of your back, for example.
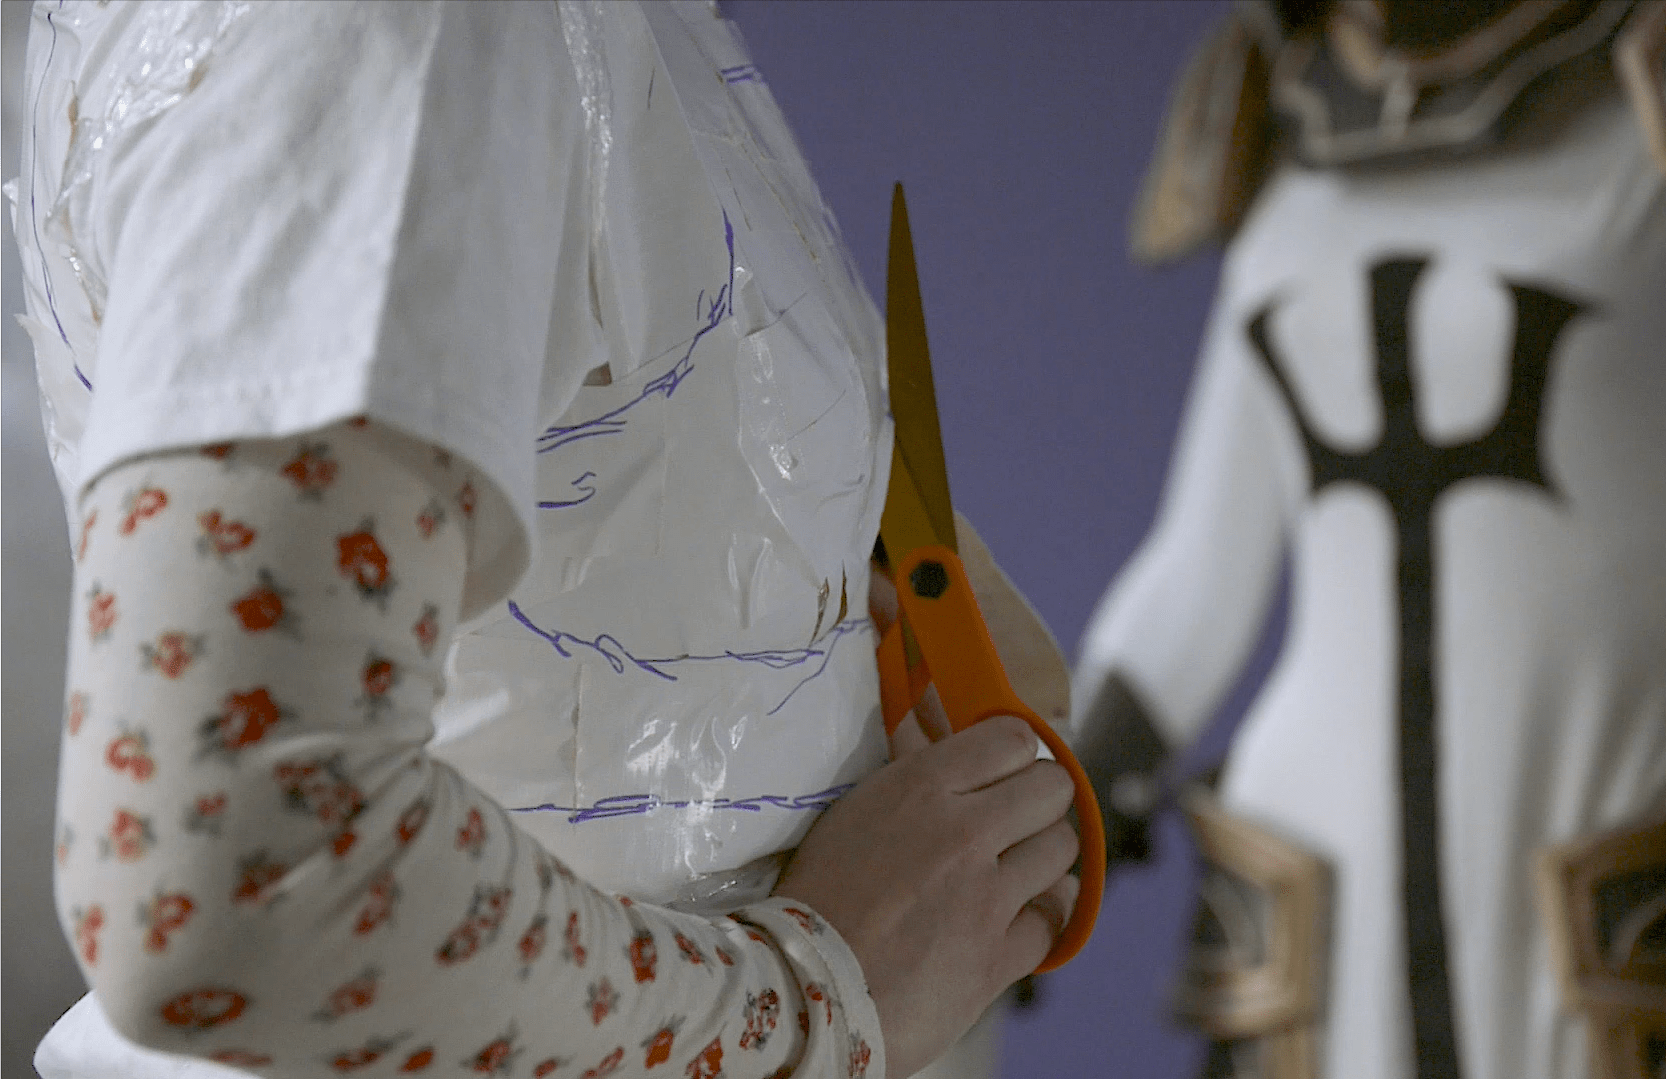
- Cut yourself free along one or more of the seams you drew. You don’t want to cut through your design.
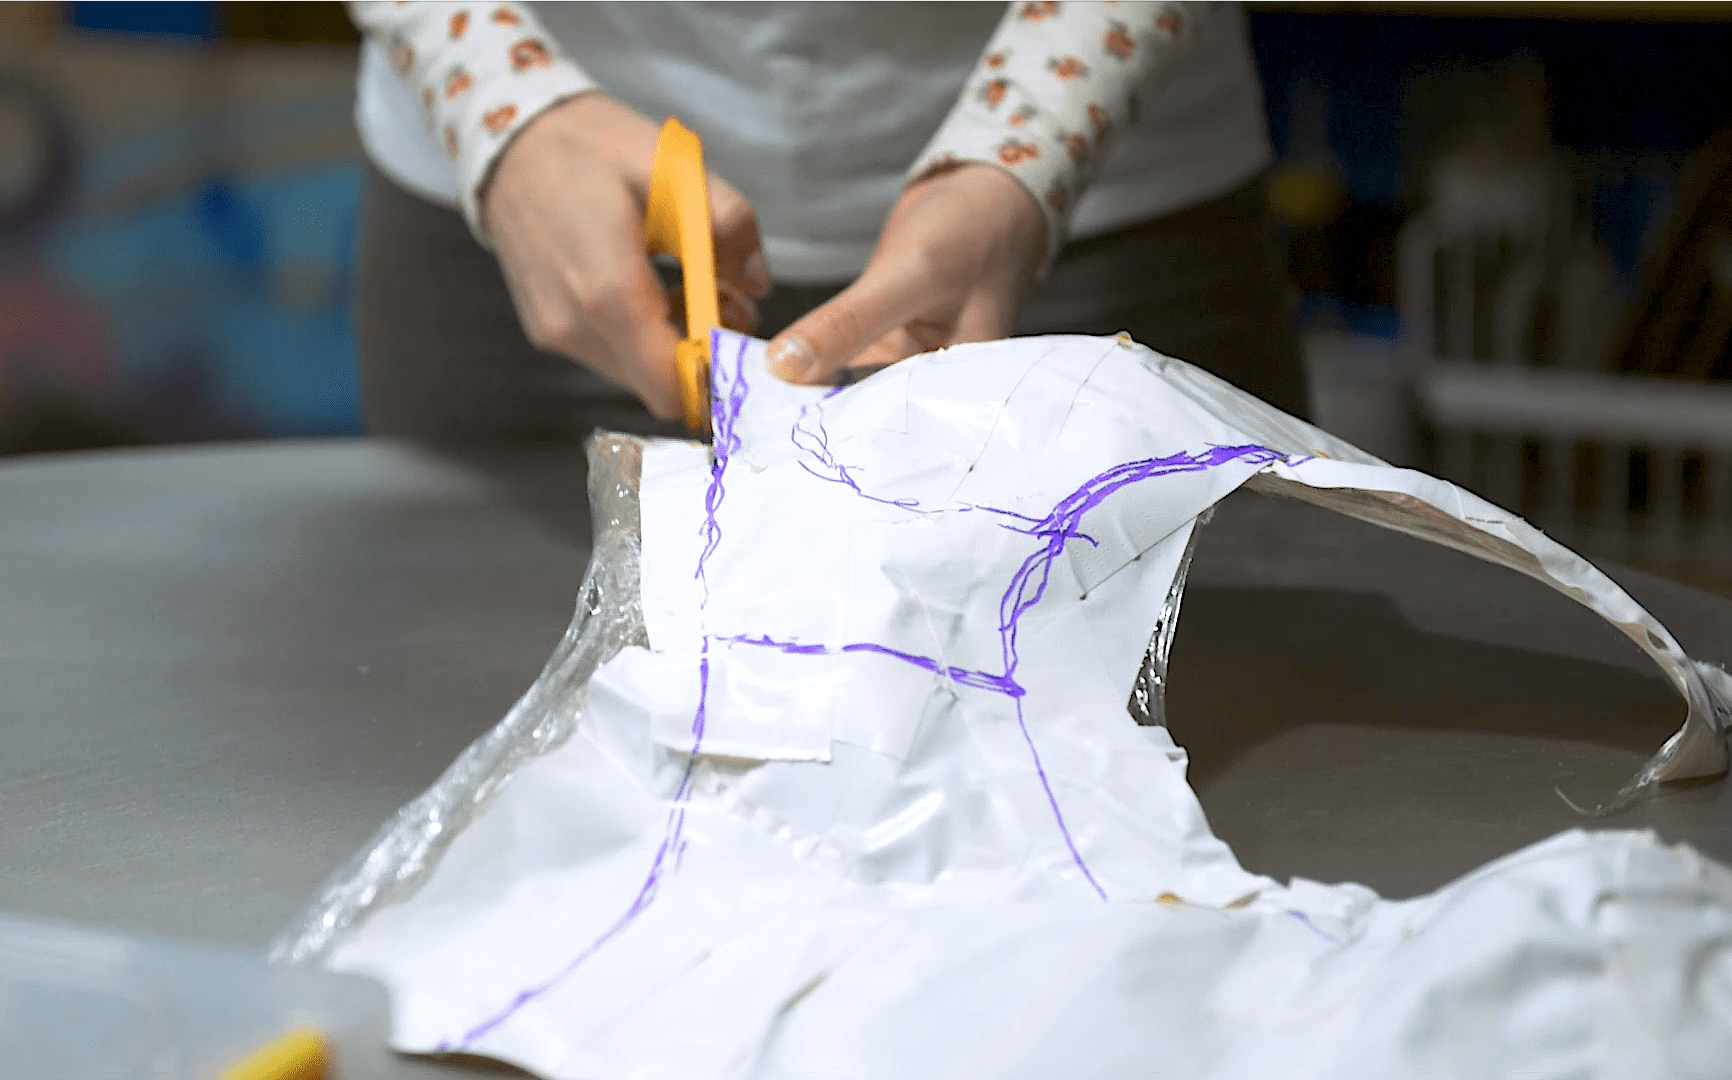
- Then, cut out all of your separate armor pieces and trim them down to the design that you drew. You can cut away any excess plastic as well.
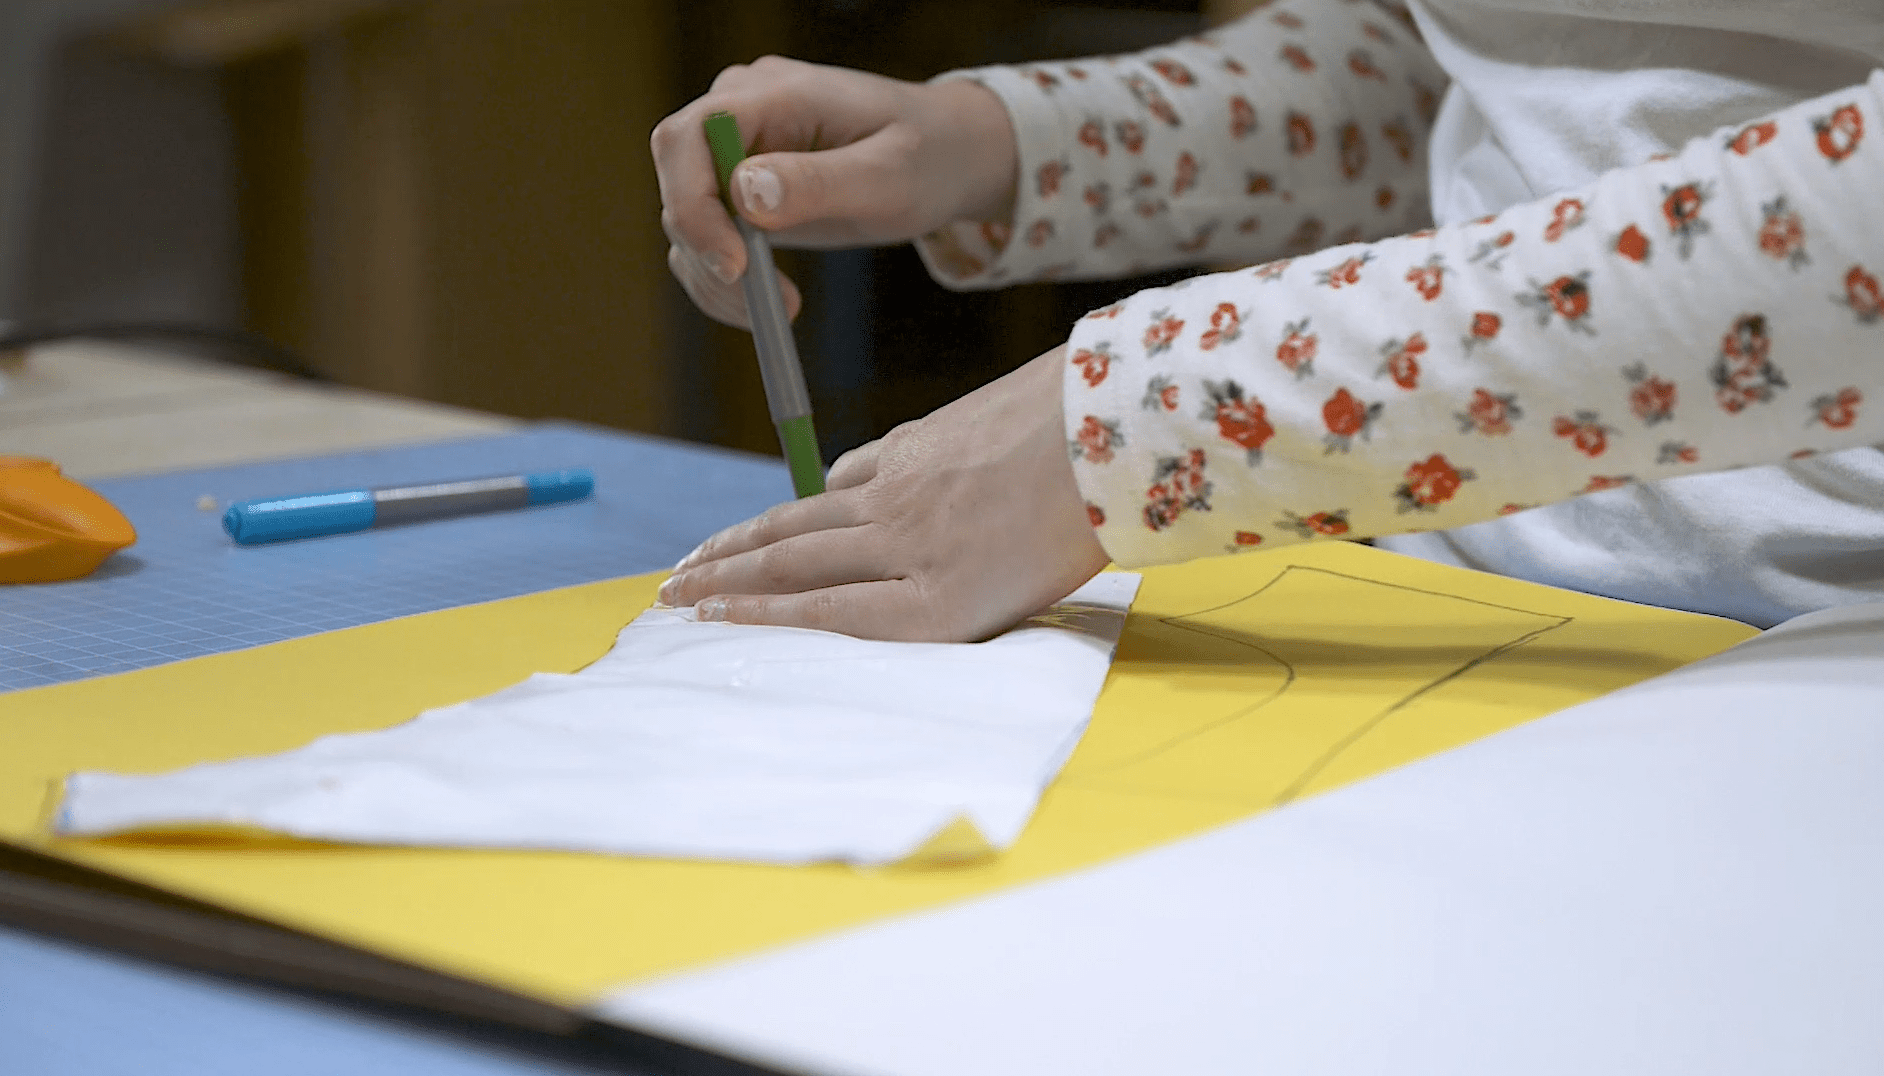
- Number your pieces and lay them flat on your construction paper. Trace around them with your marker to create custom-sized pattern pieces. Basically, you’re creating a 2D shapes from the 3D cast that you made. Transferring your tape shapes onto construction paper gives you sturdier, flatter pattern to work with. You can also number your pattern pieces so you can remember what’s what.
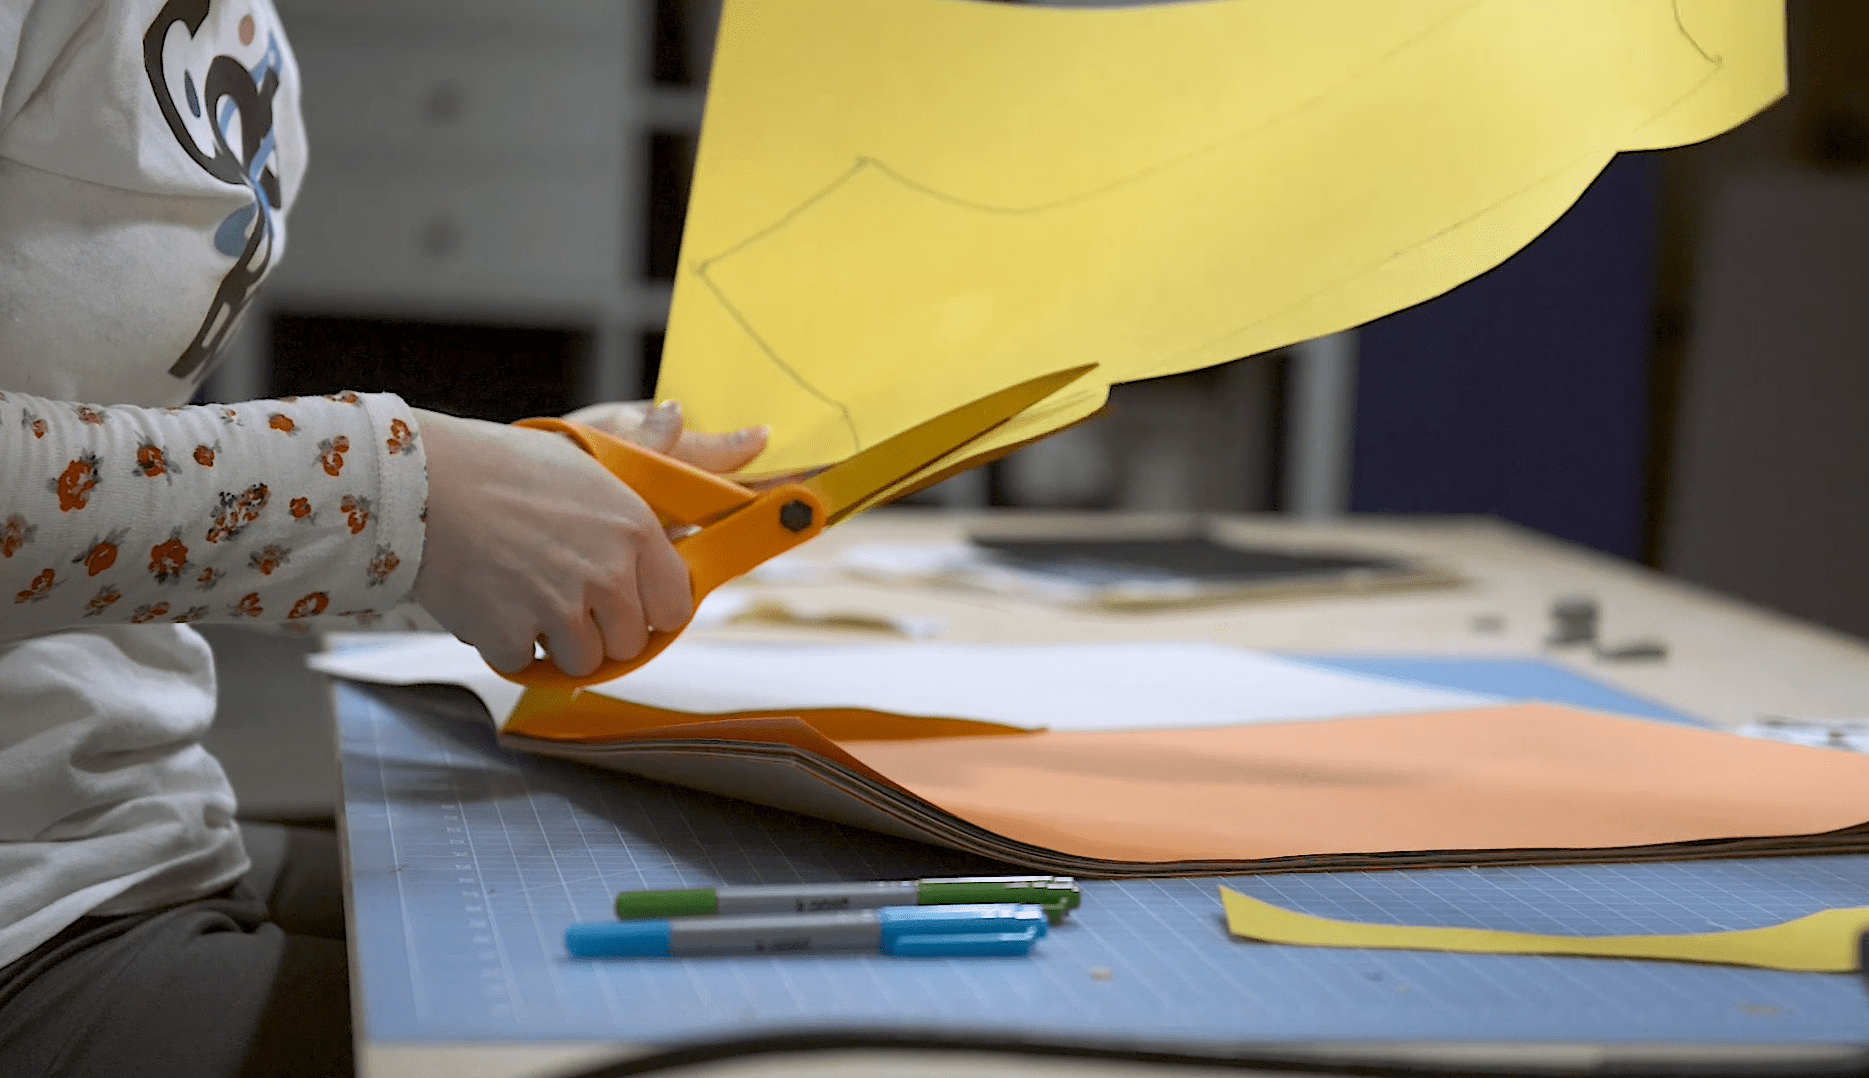
- Cut out your construction paper pattern. Now your pattern pieces are ready to be traced onto your foam.
At this point, you have your custom foam armor pattern! Note that this method can also work for fabric patterns as well.
Cosplay Armor Patterning Tips
While this simplified armor process can save you a lot of time and effort in your armor-building process, it can take some practice to perfect. Here are some tips to keep in mind during the patterning process.
- When you’re patterning on yourself, you might find that some areas of your body are harder to reach, especially your back and shoulders. Fortunately, if you can tape enough to get the outline of your armor, you can fill in any gaps once you cut the cast off.
- If you’re finding that you’re just having too much trouble getting the right shapes and reaching all the angles you need to reach, ask a friend to help! Having someone who can trace onto your back or under your arms and even help you cut yourself out of the cast can make the whole process a lot smoother if you have the time to coordinate with another person.
- Once you’ve traced your pattern, don’t trash your tape! You can save yourself a little effort for future projects by either using the same pattern shapes again for a similar design or by cutting a new (sometimes smaller) design using the same tape cast. You can tape the pieces back together and re-cut for multiple patterns.
- Finally, if you’re ever in doubt, cut your foam pieces larger than you think you’ll need. You can always trim your foam down and use heat to form your shapes later.
With a little practice (and maybe a little help from a friend), you’ll be able to make completely custom armor patterns designed to fit your body with little more than a few tweaks here and there.