This is the second episode demonstrating how we built Astrid’s amor from How to Train Your Dragon: The Hidden World. In the last episode, we showed you how we created the pattern for the armor using saran wrap, duct tape, and construction paper. In this episode, we’re going to show how we transferred the pattern to EVA foam, how we cut and assembled the various pieces of the armor, and how we adhered them together.
Products & MaterialsCOSBOND PRODUCTS USED: N/A |
We previously discussed the importance of taking the time to create a good pattern when making armor. Since this episode is all about the armor starting to come together in foam, we wanted to discuss some of the options you have when it comes to foam. The go-to foam alternative for cosplay makers has traditionally been EVA (ethylene-vinyl acetate), which is a firm, high-density foam that is commonly used in things like yoga and floor mats. EVA comes in different densities and thicknesses and is very light and easy to use depending on your application. And because it’s used in things like floor mats, EVA is readily available at hardware and craft stores, and it’s relatively inexpensive. One disadvantage when buying EVA as a yoga mat or floor mat is that the “finished” side is typically textured, so depending on what the final output will be, the texture may need to be sanded off (which is NOT fun).
 |
|
Check out our top tips for assembling and adhering your foam armor as well as what you can do if something goes wrong. {{cta(‘bad4e0fb-588f-4338-97c2-723b73b280f5’)}} |
A relatively recent addition to the cosplayer’s foam arsenal has been a “closed-cell chemically crosslinked polyethylene foam,” usually referred to as L200 or XLPE foam. Usually a little more expensive than EVA, this foam is a more “refined” solution than craft sheets and floor mats because it’s smooth on both sides, so there’s no texture to remove or sand down. Very similar to EVA in performance — maybe even a little more flexible than EVA — L200 foam comes in a variety of thicknesses and is excellent for armor building. Please note that this foam also comes in different densities which are not as popular but may be useful depending on your application: L300, L380, L400, etc. (the higher the number, the higher the density). For Astrid’s armor, we chose L200 mostly because we’d been using floor mats for most of our builds, and we wanted to give it a try — and we loved using it.
As with all of these tutorials, we’d love to hear your thoughts on how you might’ve done things differently or if you’ve used any other techniques that helped you create your armor in an easier or more effective way — just comment below or on our social media channels. For now, here’s how Astrid’s armor started to come together:
STEP 1: Transferring the Pattern to the Foam
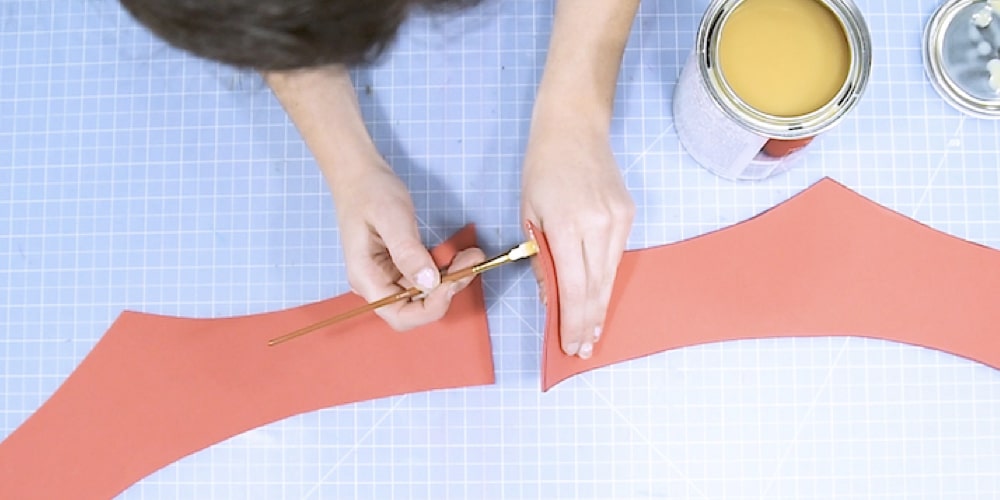
- The first thing we did was to transfer the patterns we made onto our foam using markers, making sure to trace all the details, including the darts. Since we were using L200, both sides of the foam were smooth — if you’re using floor mat EVA, make sure you flip your pattern so that the textured side of the foam ends up on the INSIDE of your armor. We labeled each piece of the armor as we traced it like we did when we were creating the pattern,
- Once everything was traced, we cut all the pieces out using a box cutter (with a fresh blade) for the thicker L200 foam and scissors for the thinner craft foam. The key is to get nice smooth cuts to make it easier to assemble the armor later.
Step 2: Assembling and Adhering the Armor
- With our foam cut out and labeled, we started adhering the pieces together. For the places where the edges of the foam would come together to form a butt-joint, we chose contact cement as our adhesive. Why didn’t we use CosBond? Well, CosBond is awesome just about everywhere, but on butt-joints like these that are made with foam that’s less than 1/2″ thick (ours is 1/4″ thick), there’s just not a lot of material to hold, and the adhesive power of CosBond is definitely diminished. We could’ve used a combination of Attach & Build and Reinforcer for these joints, but then we would’ve had to somehow cover the Reinforcer to give us the look we were going for. Additionally, since we still needed to add the scales to the armor (we had a cool trick for that), the Reinforcer would’ve actually been in the way. So for this particular application (the seams and butt-joints), contact cement was the right choice. We applied it to each edge, and once it became tacky to the touch, we glued the seams together using our finger as a guide for each seam. PLEASE NOTE: when using contact cement, please make sure you’re in a well-ventilated area and/or use a mask as the fumes can be toxic.
- As the various pieces of the armor started to come together (and after the contact cement had fully cured), we used a heat gun to shape each piece — particularly those sections that needed to be more round. This step is very important as adding just a little shape to these flat pieces can give your design a much more fitted, interesting, and sculpted look. While you won’t be able to bend the foam dramatically, you can definitely create some nice bends and curves.
To heat form our armor, we simply waved the heat gun about 4″ above both sides of the pieces until we noticed the surface became somewhat shiny. Please keep an eye out for the foam starting to bubble or forming little droplets. Those are signs that you’re heating it too much or holding the gun too close. After heating the piece for about 30 seconds, we simply shaped the foam with our hands — stretching, pulling, and bending it into the shape we wanted. In certain spots, we had to re-heat it before trying to shape it again, but once we had what we wanted, we tried our best to not heat the piece again so we wouldn’t undo our work.
That’s it! Once all the pieces were glued together and heat formed, the base of our armor was essentially complete. Then it was time to add all the details that would make the armor truly come to life. We’ll cover this in our next episode, so be sure to check it out.