You’ve picked your character. You’ve done all the prep work and research. You’ve patterned, planned, and cut out the pieces for your armor. But what do you do when it’s time to put them all together? While your assembly process for your foam armor cosplay will always be slightly different from everyone else’s, depending on what works best for you, there are plenty of tricks to getting the assembly and adhesion stage just right.
In this post, we’ll give you our top foam cosplay armor assembly and adhesion tips, as well as explain what you can expect if something goes wrong during this part of the process. You can also see foam assembly in action in this episode of our video tutorial series on Astrid and her armor from How To Train Your Dragon 3: The Hidden World.
Foam Cosplay Armor Assembly Tips
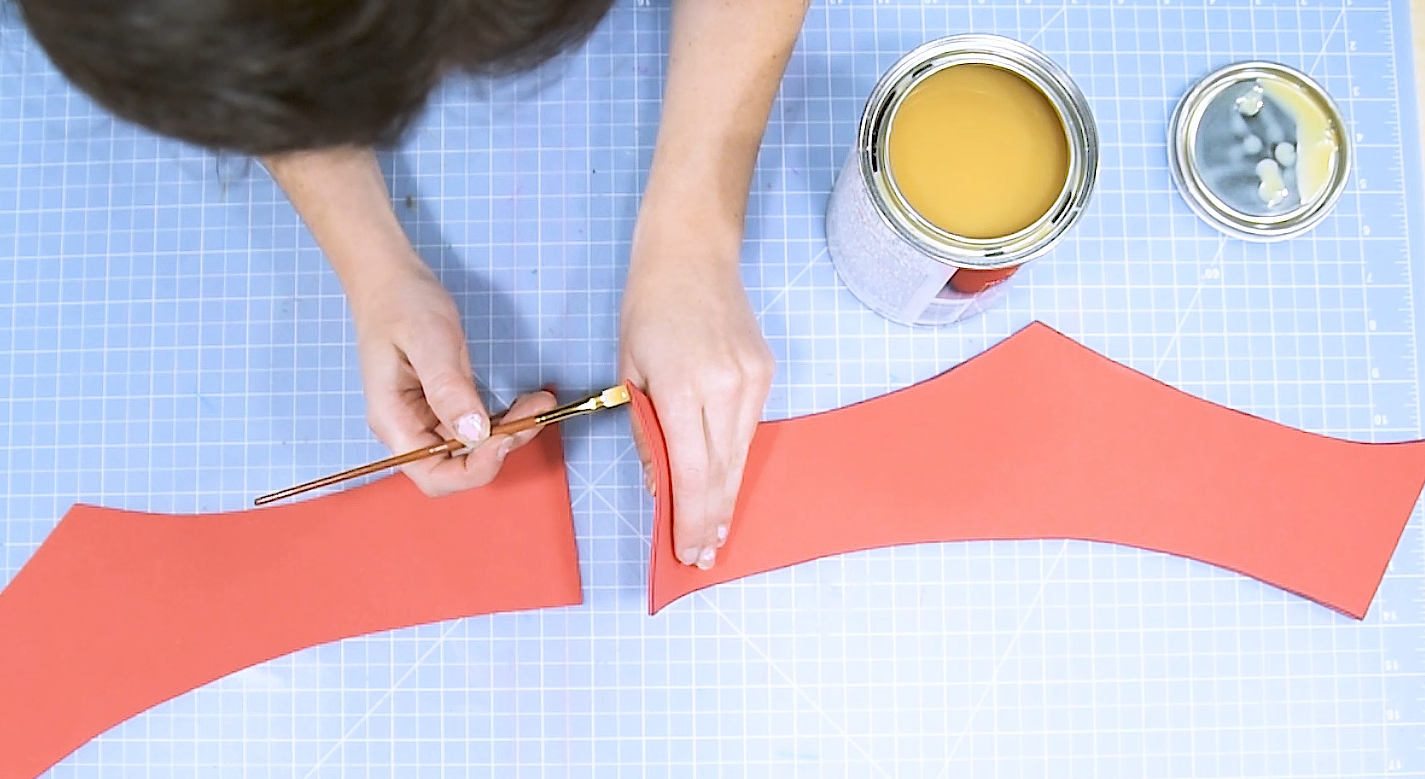
- Use the right adhesive for your materials. When you’re working with foam, you’ll want to stick with (pun intended) adhesives that dry stiffly and securely. A strong adhesive helps keep your EVA foam (or layers of foam) from flopping over and losing shape. You also want to use an adhesive that’s strong enough so that your foam pieces and layers don’t peel apart. For our armor, we used contact cement, CosBond Attach & Build adhesive sheets, and hot glue. We chose the strongest adhesives that would work for our cosplay’s specific needs but also won’t react with or eat away at the foam or its plastic coating.
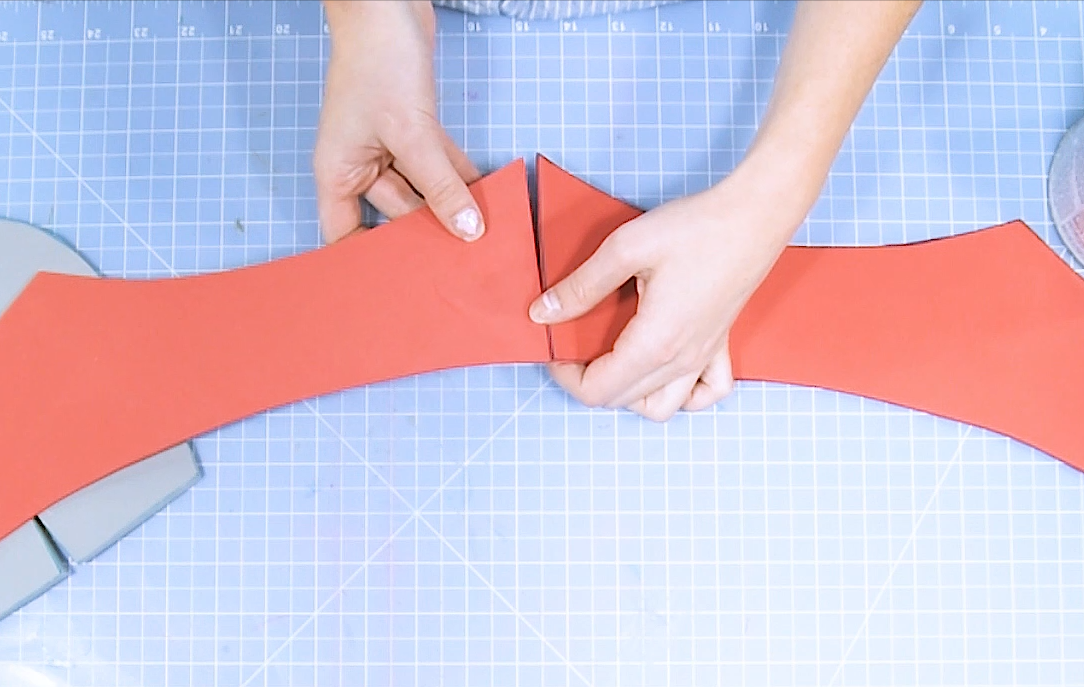
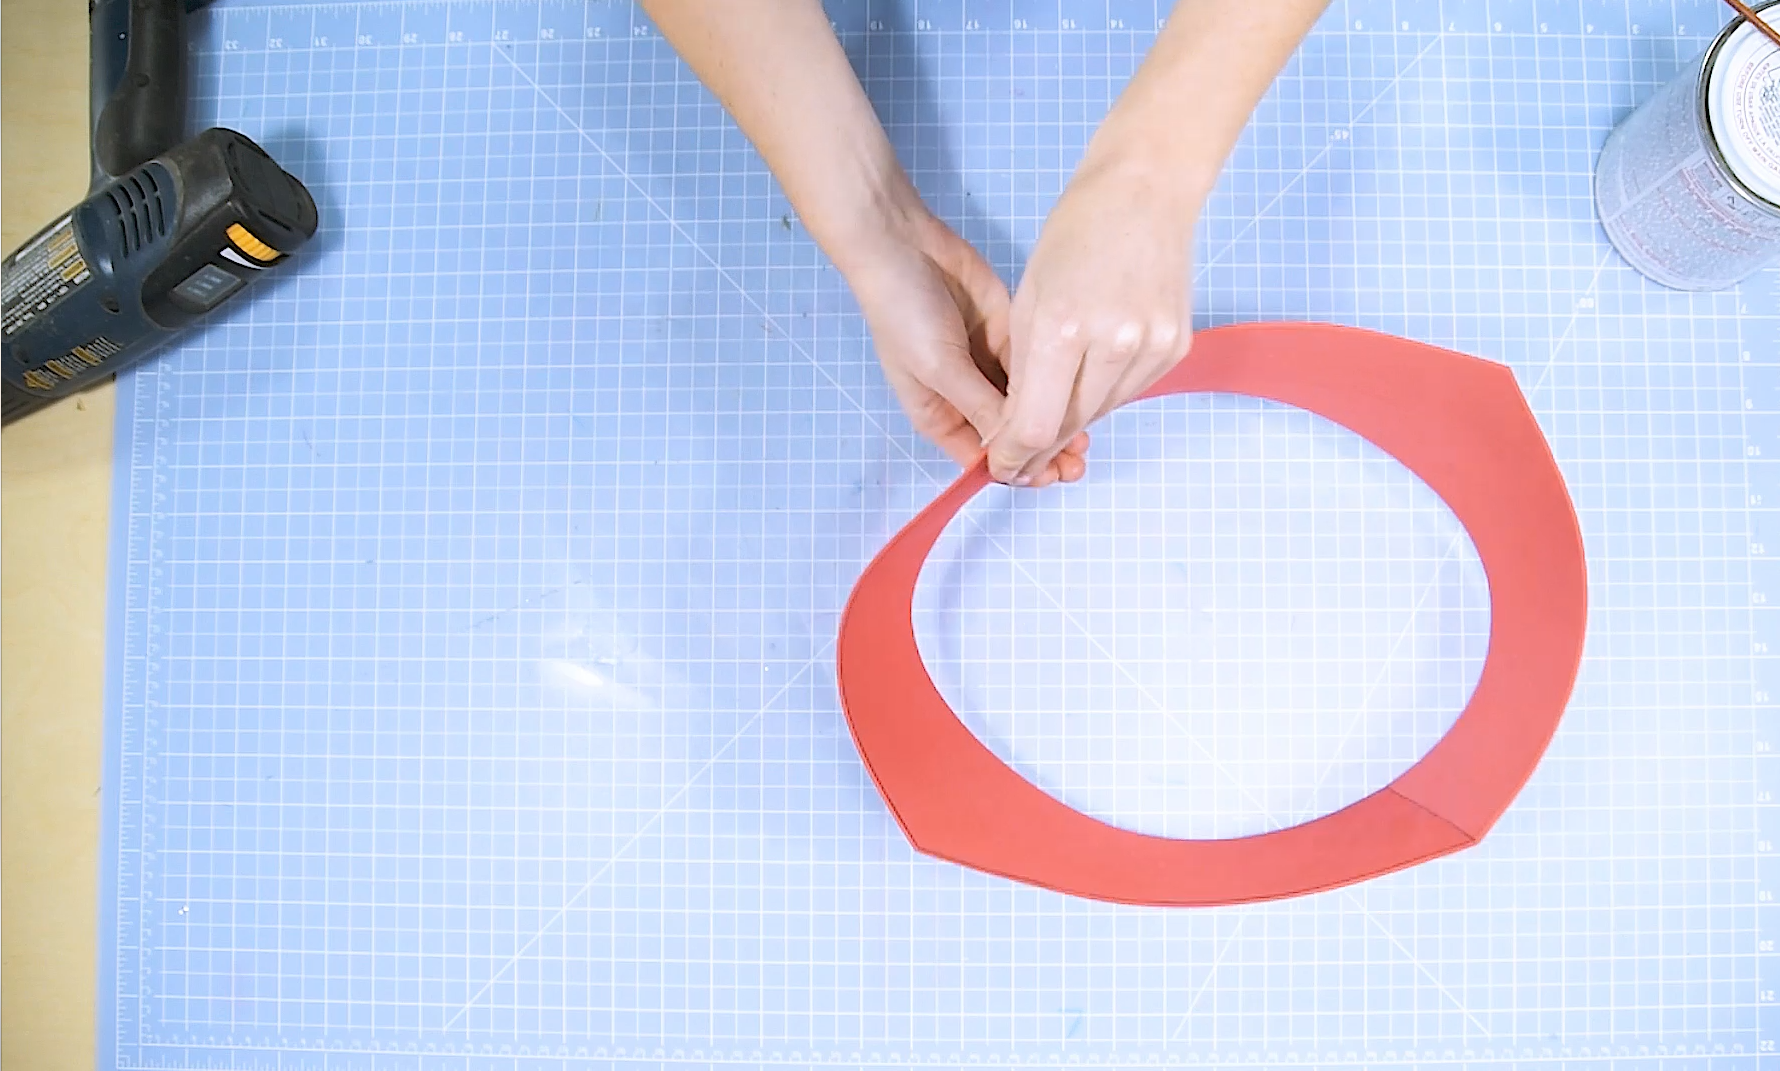
- Know your cure times. Another important factor when working with adhesives and foam is to know how much time you have to move pieces around before your adhesive sets or cures. For example, when you’re using contact cement, you’ll coat both pieces of foam and let the cement almost set before sticking your pieces together. Once you do that, the cement will set quickly, so once two pieces are joined, it’ll be difficult to separate them if you haven’t lined everything up neatly. Superglues and adhesive sheets will also bond quickly between pieces of foam. If you need more time to work your adhesive before it sets, a hot glue gun might be an option for you, but hot glue can also melt your foam if the temp is too high. We’d recommend having all your pieces cut, measured, and tested for size and fit before you’re ready to glue so you can work quickly. Lay everything out first so that you have a plan before you start applying your glue.
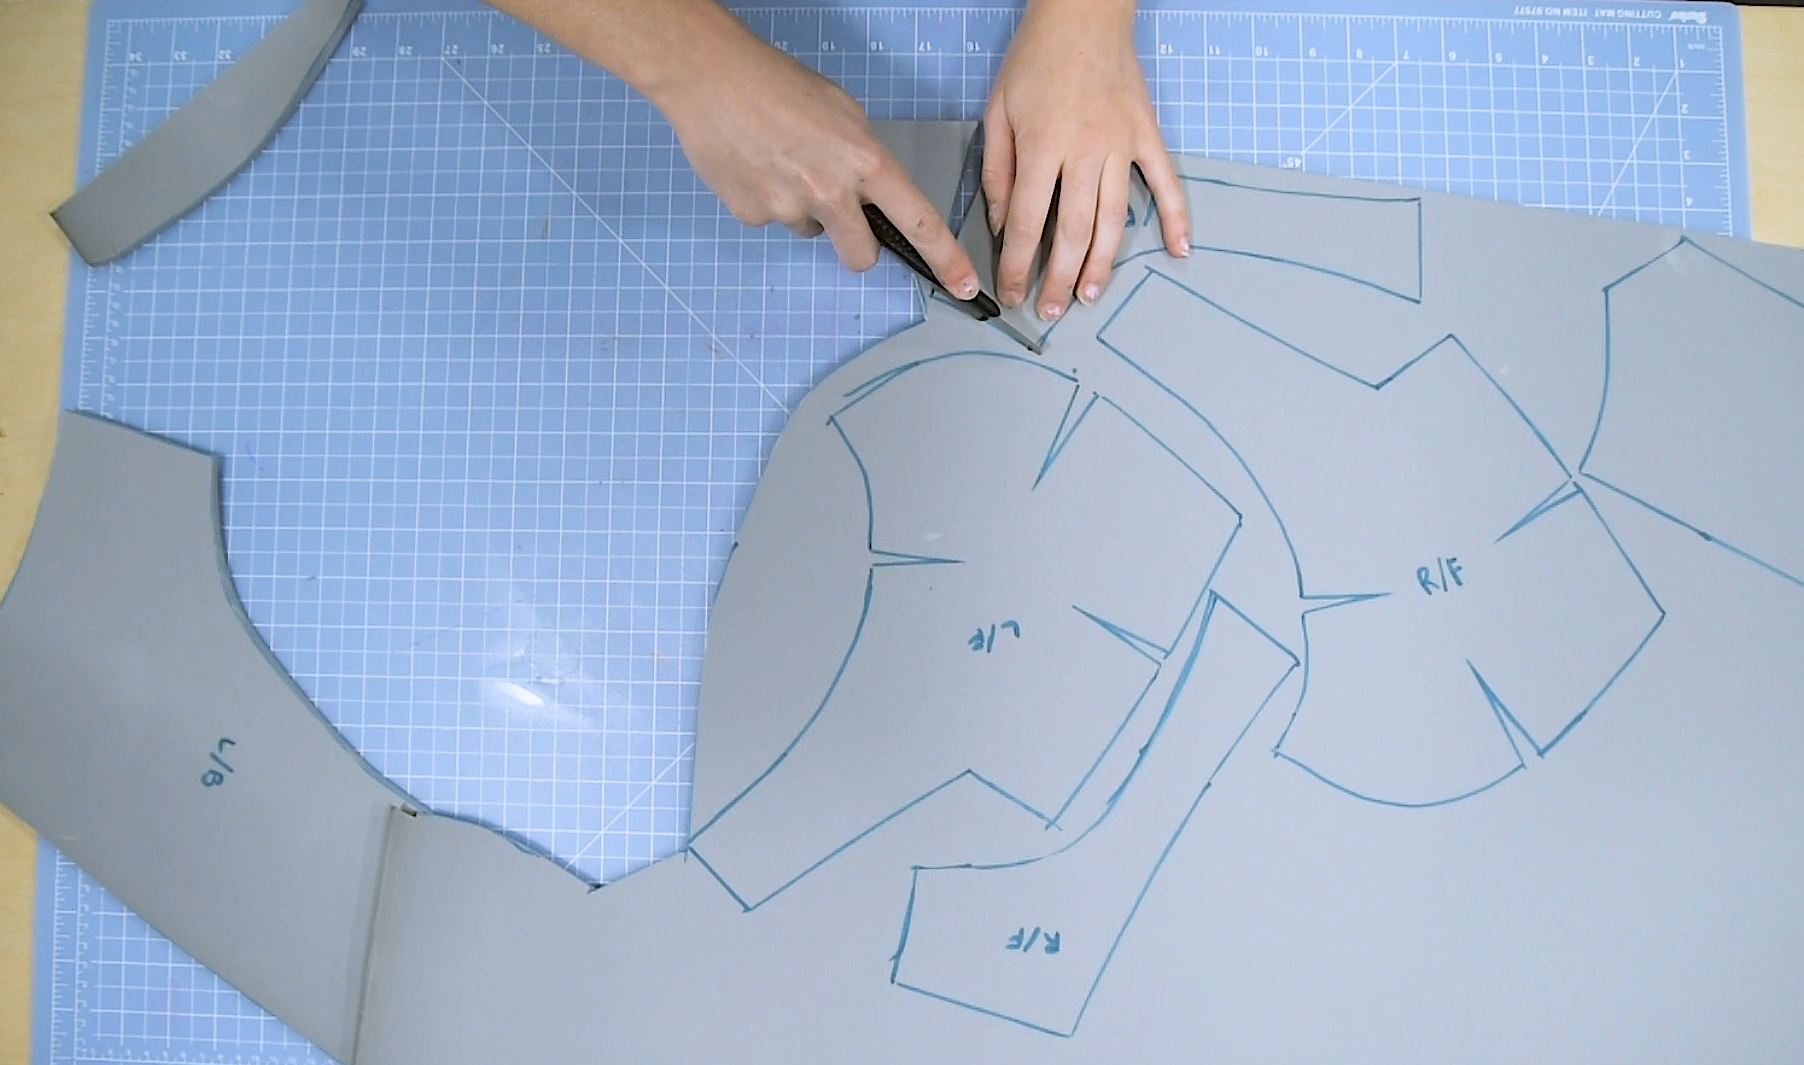
- Always start with bigger foam pieces than you think you’ll need. This is true for a lot of materials you’ll use for cosplay, but when you’re working with foam, always cut your pieces bigger than you actually think your weapon or prop needs to be. It’s much easier to cut and sand down your foam shapes than it is to add foam back on to make something bigger. Give yourself some wiggle room to work with. Even after you’ve made a pattern, the construction of your armor might surprise you. In the long run, you’ll probably be saving foam and glue by cutting your pieces bigger than you need and cutting them down instead of having to a cut a whole new piece because the first one was too small.
What To Do If Things Go Wrong With Armor
Assembly is a huge step in the cosplay process; it’s when all of your pieces finally start to look like something you can wear on your body. But before you can start really digging into the painting and detailing that brings your armor to life, you have to get those pieces together right. Depending on your vision and design, sometimes assembly can be easy and straightforward. When it’s a bit more complicated, it’s important to avoid mistakes with careful planning or to have some damage control techniques handy.
If something goes wrong during the assembly stage, you don’t have to scrap your work right away. If you end up with extra space between pieces or accidentally stab a hole in something, you can smooth the seams with a variety of flexible fillers (we used hot glue and smoothed it out with the heated tip when the glue was try.) If a pice of foam breaks off, it’s not impossible to glue it back on if you scrape off the old adhesive first. And if your glue is set but one part of your prop doesn’t seem strong or secure enough, you can seal it with resin, add strengthener, or even coat it with a wood glue and water solution to prevent ripping or tearing. With some creative problem solving, your cosplay assembly challenges can often be avoided or reversed before they throw your process totally off track.