This is the first of four tutorials demonstrating how we built Astrid’s axe from How to Train Your Dragon: The Hidden World. In this episode, we’re focusing on the insulation foam axe head — showing you how we patterned it, cut it out, and sanded it, as well as how we started assembling it. Please check out the video below and scroll down for a detailed tutorial including the material and tools we used. Let’s get started.
Products & MaterialsCOSBOND PRODUCTS USED: CosBond Attach & Build |
STEP 1: Making the Axe Head Pattern
- Before we started making the actual pattern for Astrid’s axe, we tried to figure out how tall the axe would need to be so it would look right for our cosplayer, Elyse. We simply eyeballed the size while standing in front of a mirror and then used a tape measure to measure how tall it needed to be.
- We then downloaded a picture of Astrid’s axe from the web and blew it up to the size that we felt would work. We used Photoshop to resize the axe, but any photo editing software will let you see the dimensions before you print it.

- Then we printed it out and taped all the pieces of the print out together to form the axe.
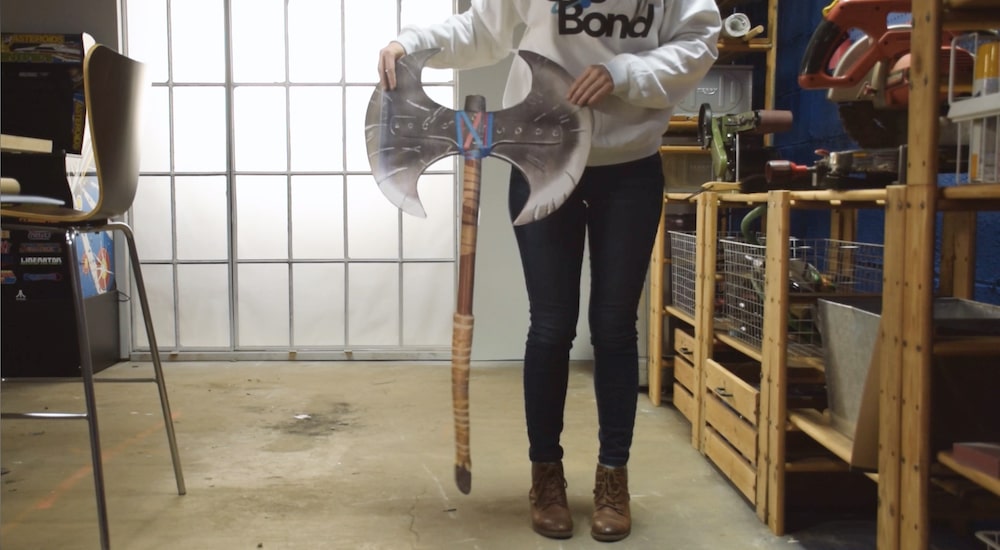
- We then simply cut it out and stood next to it in front of a mirror to make sure it looked right.
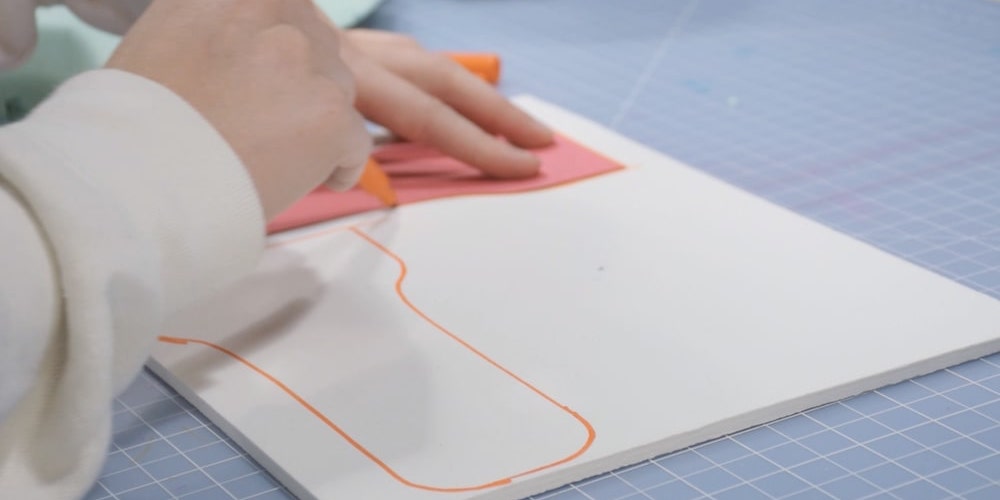
- Next, we traced the top of the head of the axe onto construction paper so we could use the construction paper as the pattern to trace onto our insulation foam. This may seem like an unnecessary step since you could technically just trace from the print out. But we took this extra step to make sure our axe head would be perfectly symmetrical. Rather than tracing the entire axe head, we traced only the top portion of one side of the axe head (essentially 1/4 of the axe head). We then folded the construction paper in half and cut through both halves to get one side of the axe head (basically 1/2 of the axe head).
 |
|
Check out our tips for planning and patterning cosplay weapons and some examples of those tricks in real life. {{cta(‘8e36a8f9-8bba-4cae-bc61-186a3b9b10d3’)}} |
Step 2: Rough Cut of the Axe Head
Now that we had a suitable pattern, it was time to transfer the pattern to the insulation foam. We used insulation foam for the axe head primarily because it allowed us to achieve the thickness we wanted (approximately 2-1/2″ thick) while still being very light. Additionally, since we wanted to make sure we could ship Astrid’s axe to the various cons we’d be attending, we decided to utilize two sheets of the insulation foam so we could sandwich a piece of 1″ wooden dowel inside the axe head. This dowel inside the axe head would allow us to easily screw the axe handle onto and off the head for easier transportation — we’ll explain this in further detail when we finish the axe.
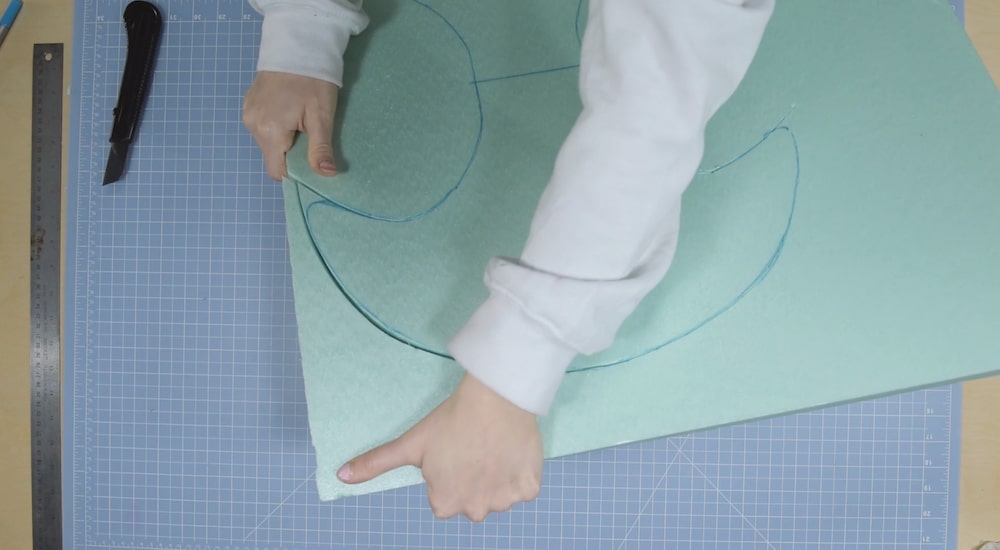
- To transfer the axe head pattern to the insulation foam, we simply traced it on one side of the foam and then flipped the pattern to create the opposite side of the axe head. This ensured that we had a perfectly symmetrical axe head. We repeated this on the second sheet of insulation foam to make sure both pieces would be identical.
- It was now time to cut out both pieces of the foam. We used a box cutter because it allows you to easily change the blades — so you always have a super-sharp blade — and also because the blade bends, which makes it great for cutting around curves. It’s also super clean to do these rough cuts with a box cutter. You could use a band saw, but you’d have a huge mess of foam dust to clean up.
- Because we used the box cutter on a rather thick piece of foam, the blade didn’t go through the entire width of the foam. So after cutting the entire pattern, we simply broke off the cut pieces. Be careful when doing this to make sure you don’t break your axe head in half.
STEP 3: Axe Head Assembly
- Before we adhered the two pieces of our foam axe head together, we needed to hollow out the center piece to fit the 1″ wooden dowel inside. This way, it could be sandwiched in between the two sheets where our handle should screw in. To do this, we used a Dremel tool and carefully hollowed out approximately 1/2″ on both sheets of the axe head. When using the Dremel, please be sure to use a guard and wear goggles as the foam dust will go everywhere.
- We then used our cut-out foam axe head as the pattern to trace onto the sheets of CosBond Attach & Build. We cut out the sheets, peeled off the release paper on one side, and adhered it to one half of the axe head until it was completely covered.
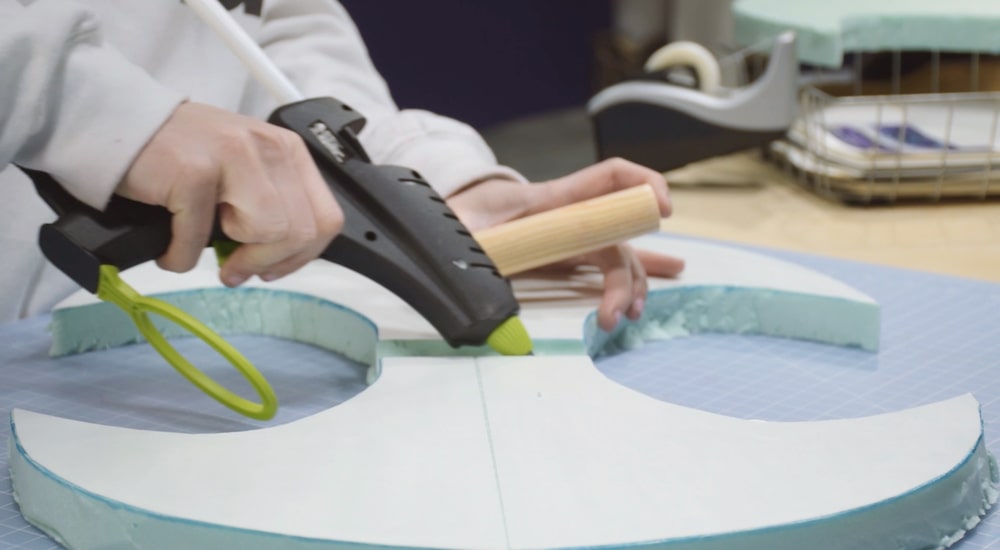
- Once we’d covered one sheet of the axe head with CosBond, we then glued the wooden dowel in place using hot glue. We used hot glue because it would deliver a strong hold while filling in the imperfections in the channel we hollowed out with the Dremel.
- After the dowel was secured to one half of the axe head, we peeled off the release paper from the CosBond Attach & Build to expose the adhesive, added a little more hot glue to the exposed side of the wooden dowel, and placed the second half of insulation foam on top — sandwiching the wooden dowel in between the sheets. With CosBond’s instant adhesion, our axe head was completely assembled and we could move on to the next step.
Step 4: Shaping and Sanding the Axe Head
- With our axe head assembled, it was time to start to “sculpt” its fine edge. To do this, we simply drew a line at the approximate spot where the axe head would begin to bevel down to form the sharp edge. We did this on both sides of the axe using the line where the sheets came together as the reference for the edge. We then used a box cutter to carefully slice and shave the foam until we’d achieved the approximate shape we wanted.
- Then it was time to get rid of all the imperfections from our rough cuts. For this we used a belt sander because it allowed us to use both hands to hold the axe head and get pretty precise on what we sanded off. We used a medium grit sandpaper for this step since it was primarily to shape the axe head and get rid of the imperfections. Because of the CosBond between the sheets of foam, the sandpaper can get a little gummed up with the adhesive. So keep your eye on it and change the sandpaper as necessary.
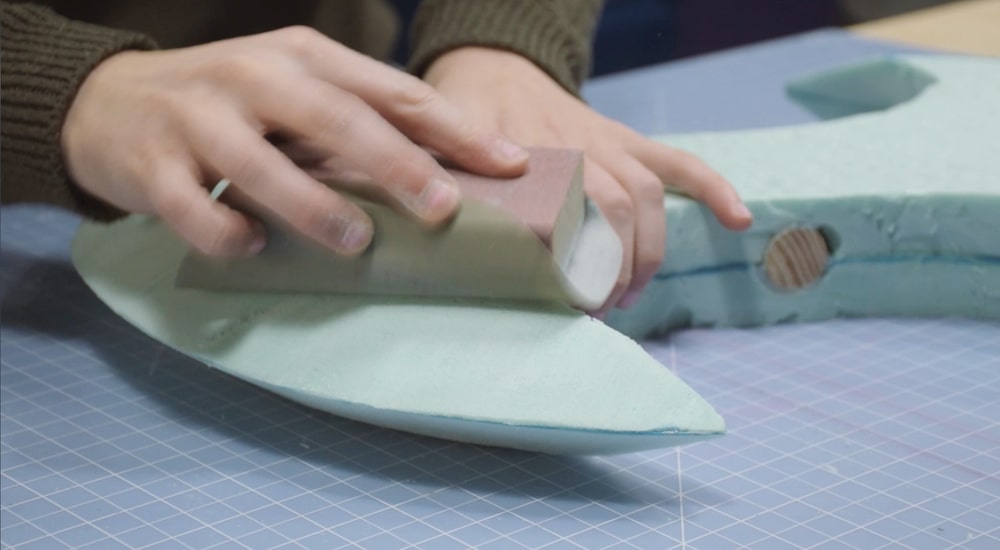
- Once the rough sanding and shaping was done, we then went back through with a fine grit sandpaper to ensure we had a super-smooth surface. We did this part by hand so we could be really precise with where we sanded.
Your content goes here. Edit or remove this text inline or in the module Content settings. You can also style every aspect of this content in the module Design settings and even apply custom CSS to this text in the module Advanced settings.